
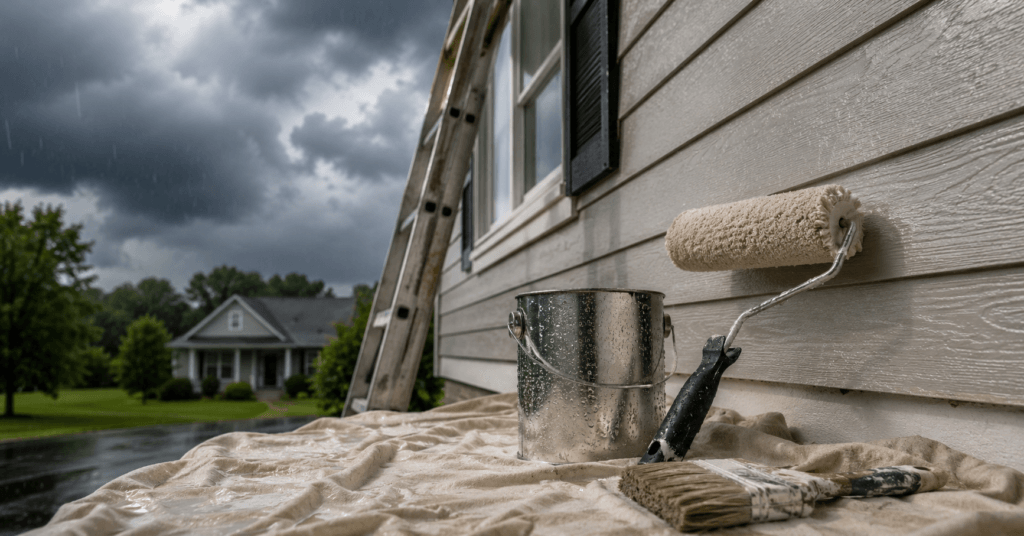
Quick Answer: Never paint outside when temperatures are below 50°F or above 90°F, when humidity exceeds 85%, when rain is forecast within 24 hours, when the surface temperature is within 5°F of the dew point, when winds exceed 15mph, or when surfaces are in direct, intense sunlight. Breaking any one of these rules turns a premium paint job into a peeling disaster within months. Getting all seven right is what separates a finish that lasts 10 to 15 years from one that fails before winter.
Knowing when not to paint outside is just as important as knowing how to paint. You have the paint, the brushes, the ladder, and a free Saturday. The weather looks fine. You start painting.
Six months later, the paint is peeling, blistering, or showing lap marks that look worse than what you started with. The paint was not the problem. The conditions were.
Most exterior paint failures in US homes come down to one thing: painting outside at the wrong time. Not the wrong color, not the wrong primer, not the wrong technique. The wrong temperature, humidity level, or time of day. Professional painters know this so well they schedule their crews around forecasts, not just availability. Homeowners who ignore conditions spend twice the money fixing a failed job.
This guide covers when not to paint outside by covering the seven specific conditions that guarantee exterior paint failure, the exact numbers you need to check before opening a can, the dew point calculation that most guides completely skip, and a region-by-region breakdown of when to paint and when to wait across the US.
When Not to Paint Outside: Why Weather Controls Paint Chemistry
Before getting into the specific conditions, it is worth understanding why weather matters at a chemistry level, not just a comfort level.
Exterior paint dries through two separate processes. First, solvents evaporate from the wet paint film. Second, the remaining resins cure and crosslink into a hard, durable film. Both processes require the right balance of temperature and humidity to proceed correctly.
Too cold and the solvents evaporate too slowly; the resins do not crosslink properly, and the resulting film is soft, brittle, and poorly bonded to the surface. Too hot and the solvents flash off too fast, leaving a surface skin before the underneath has leveled, which causes wrinkling, brush marks, and loss of adhesion.
Too much humidity and moisture from the air competes with the drying process, preventing solvents from evaporating cleanly and causing the wet film to collect atmospheric moisture that creates bubbles, blistering, and adhesion failures. Too little humidity in very dry desert conditions causes the paint to dry faster than it can flow and level, leaving an uneven surface with visible brush and roller marks.
Four factors decide whether your finish lasts 12 years or peels in 18 months: temperature, humidity, dew point margin, and the rain window before and after application. Match all four and a mid-tier paint outperforms premium paint applied in the wrong conditions.
Condition 1: Temperature Below 50°F or Above 90°F
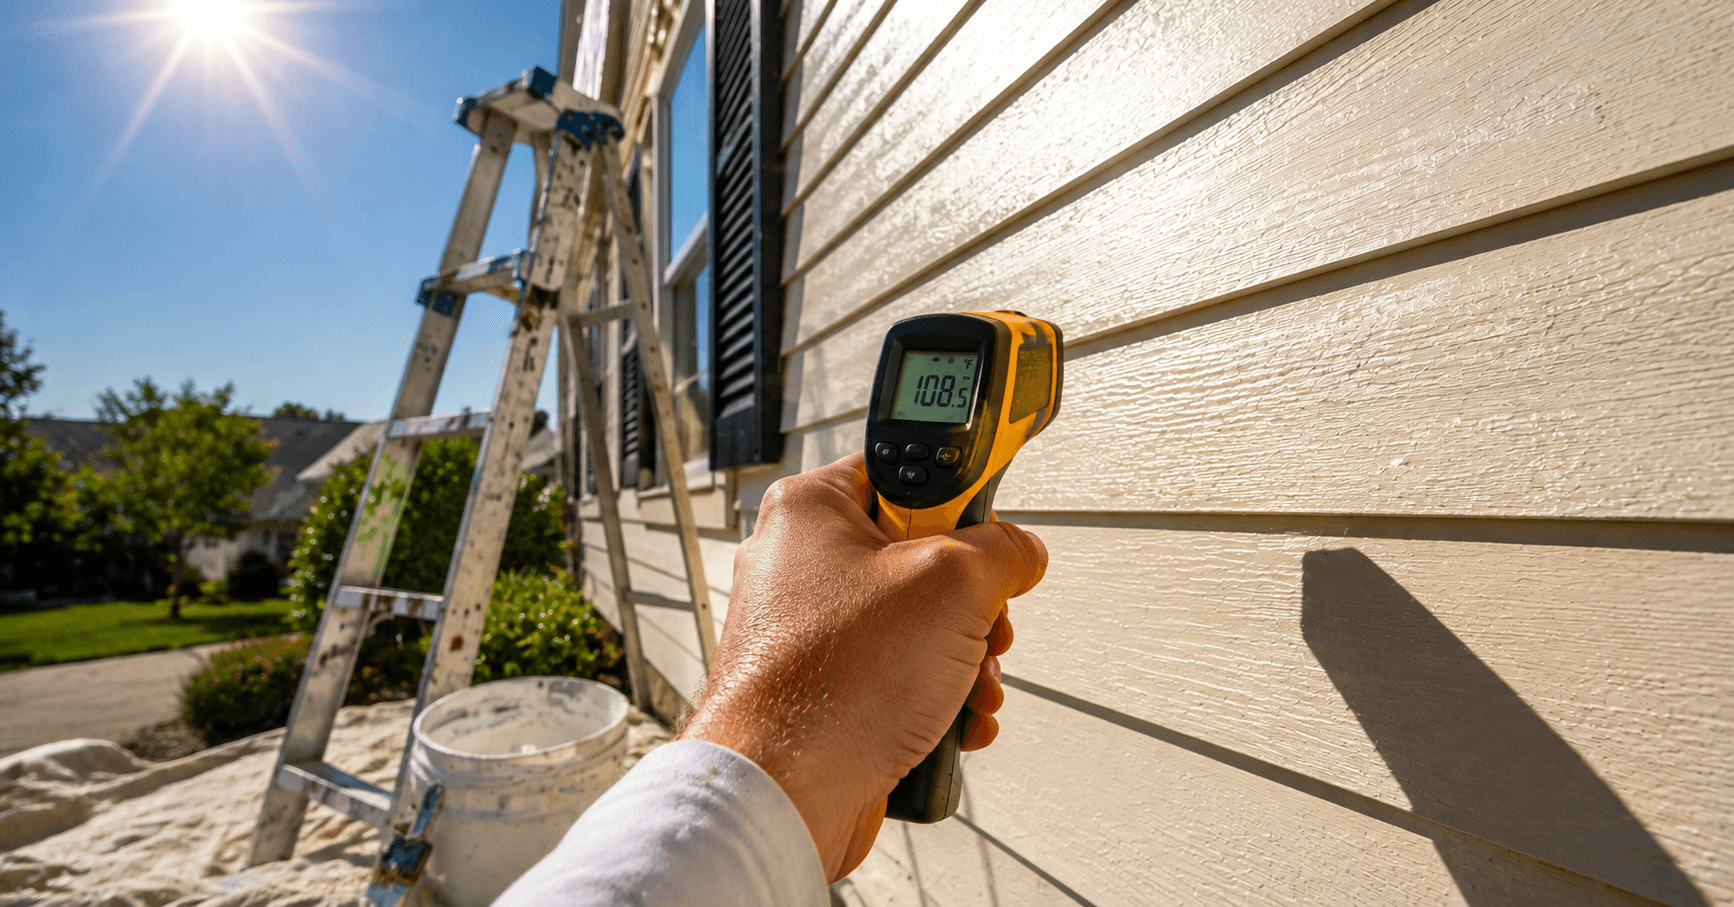
The optimal temperature range for painting outdoors is between 60 and 85 degrees Fahrenheit. This ensures the paint dries properly and adheres well to the surface.
The absolute minimum for most latex exterior paints is 50°F. Below this threshold, the paint thickens, does not flow properly from the brush or roller, and the latex particles cannot coalesce correctly as the film dries. The result is a chalky, poorly bonded surface that begins flaking within one season.
If nighttime temperatures dip below freezing, avoid painting altogether, as the curing process can be disrupted even if daytime conditions seem ideal.
This is the most commonly ignored rule in US home painting. A homeowner sees 65°F on a November afternoon in the Midwest, thinks conditions are fine, and paints. What they do not account for is that paint curing is not complete when the paint feels dry to the touch. Full cure takes 24 to 48 hours for latex and up to a week for oil-based products. If temperatures drop below freezing overnight after a same-day application, the curing process is interrupted and the bond to the surface never fully forms.
At the high end, temperatures above 90°F cause the opposite problem. The surface of the paint dries too quickly, trapping solvents underneath and preventing proper leveling. The result is brush marks, roller stipple that does not flatten, and a rough texture that also affects the final sheen. Additionally, surfaces in direct sun can reach 30 to 40 degrees higher than air temperature, which means a 90°F air temperature day can produce a 120°F or higher surface temperature on south-facing wood or metal.
The surface temperature check most homeowners skip: Hold your hand flat against the wall surface for 30 seconds before painting. If it is uncomfortably warm, it is too hot to paint regardless of what the air temperature reads.
Condition 2: Humidity Above 85% (or Below 40% in Desert Climates)
Coastal areas require mildew-resistant paint. Salt air and high humidity create perfect conditions for mold growth. Antimicrobial additives prevent black and green staining on your siding.
High humidity is the silent destroyer of exterior paint jobs. When relative humidity exceeds 85%, the air is holding so much moisture that the water in a wet paint film cannot evaporate effectively. The paint stays wet for hours longer than normal, collects airborne dust and debris, sags on vertical surfaces, and when it finally dries, the film has a different structure than paint dried under correct conditions.
Never paint outside above 85% humidity, or if rain is forecast within 24 hours. Bad timing ruins even premium exterior paint.
The Southeast, Gulf Coast, and Pacific Northwest are particularly susceptible to this problem. In these regions, morning humidity is frequently above 85%, even on sunny days, because overnight cooling causes moisture to condense. Painting before 10 am in these climates during summer and fall is almost always painting in too-high humidity regardless of how the day appears visually.
At the other extreme, very low humidity below 40% in desert Southwest states causes paint to dry faster than it can flow and self-level. The practical result is visible application marks that do not flatten out. In these climates, slightly higher humidity, 50 to 65%, is actually ideal, and painting in late afternoon when humidity rises slightly after the intense midday sun passes is better than early morning.
Condition 3: The Dew Point Rule (The Calculation 90% of Guides Skip)
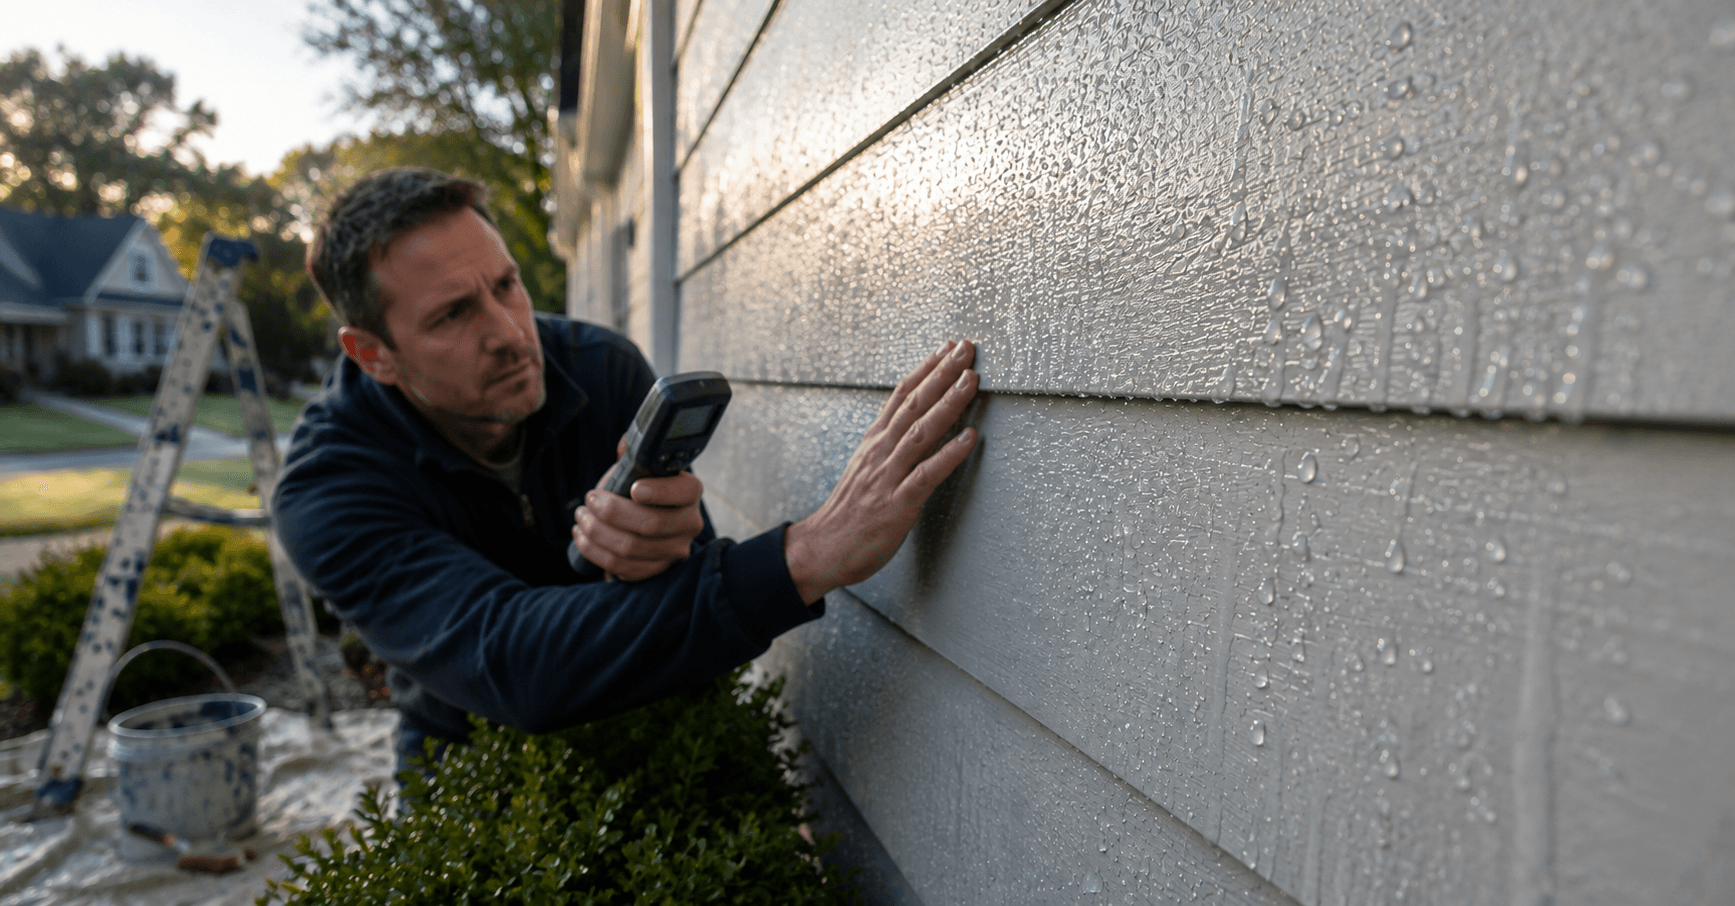
This is the most important single condition check and the one that almost no homeowner-facing painting guide explains correctly.
The dew point is the temperature at which air becomes saturated, and moisture condenses on surfaces. When the surface temperature of your wall or trim drops within 5°F of the dew point, a film of moisture forms on the surface that is invisible to the naked eye. Painting over this invisible moisture layer creates instant adhesion failure.
The dew point margin should be 5°F above and rising. Four factors decide whether your finish lasts 12 years or peels in 18 months: temperature, humidity, dew point margin, and the rain window.
Here is how to use this in practice. Before painting, check your local weather station or the Weather.gov website for both the current temperature and the current dew point. Subtract the dew point from the surface temperature of your wall. If the result is 5°F or less, do not paint.
A practical example: if the air temperature is 72°F, the dew point is 68°F, and the wall surface is 70°F, you have only 2°F of margin. Conditions look perfectly acceptable to the eye, but the surface is on the edge of condensation and painting will produce adhesion problems. Wait until conditions shift or the afternoon sun warms the surface further.
This dew point calculation is why professional painters check forecasts and not just current conditions. A rising dew point throughout the day, even if the current margin is fine, signals deteriorating conditions ahead.
Condition 4: Rain Within 24 Hours Before or 48 Hours After
Rain before painting leaves moisture in the wood, siding, or masonry that creates a barrier between the paint and the surface. Even surfaces that look and feel dry after rain can contain moisture well above the 12 to 15 percent wood moisture content threshold above which paint adhesion is compromised.
Painting in the rain, or even when rain is expected shortly after, compromises paint adhesion, leading to peeling, streaking, or blotchy finishes. Similarly, high humidity levels can extend drying times, increasing the likelihood of imperfections.
Wait at least 24 hours after any rain before painting exterior wood or composite surfaces. For masonry, concrete, and stucco, wait longer because these materials absorb and retain moisture more deeply. Two to three dry days is the professional standard after heavy rain on masonry surfaces.
After painting, the film needs time to form a water-resistant surface before it can handle rain. Most latex paints become rain-resistant within four hours, but this assumes correct temperature and humidity conditions during that window. If rain falls within 24 to 48 hours after application in conditions that were already marginal, the risk of failure increases significantly.
A practical application: check a five-day forecast, not just a same-day forecast, before starting any exterior painting project. If rain is forecast within 48 hours of when you expect to finish, move the project.
Condition 5: Wind Above 15mph
Wind creates two problems that are difficult to correct after they have occurred.
Wind can blow dirt onto a wet wall, while intense sunlight can bake the top layer before the underlying liquid settles.
At 15mph and above, the rate of solvent evaporation from the wet paint surface increases dramatically and unevenly. The exposed top surface dries faster than the material underneath, creating a skin that wrinkles as the lower layers continue to contract. The result is a textured, wrinkled surface that is visible from any angle and cannot be corrected without stripping and repainting.
Wind also carries dust, pollen, seeds, and debris that land in wet paint and become permanently embedded in the surface. In spring and fall, this is particularly problematic because pollen and seed counts are high. A perfectly applied coat of paint covered with embedded pollen looks rough and dirty even immediately after drying.
Additionally, wind accelerates solvent loss from paint in containers and on tools, causing the paint to thicken faster than normal and increasing the likelihood of drag marks and poor coverage.
The practical test: hold a piece of paper at arm’s length. If it flutters continuously rather than just occasionally, conditions are too windy to paint.
Condition 6: Direct Intense Sunlight on the Surface
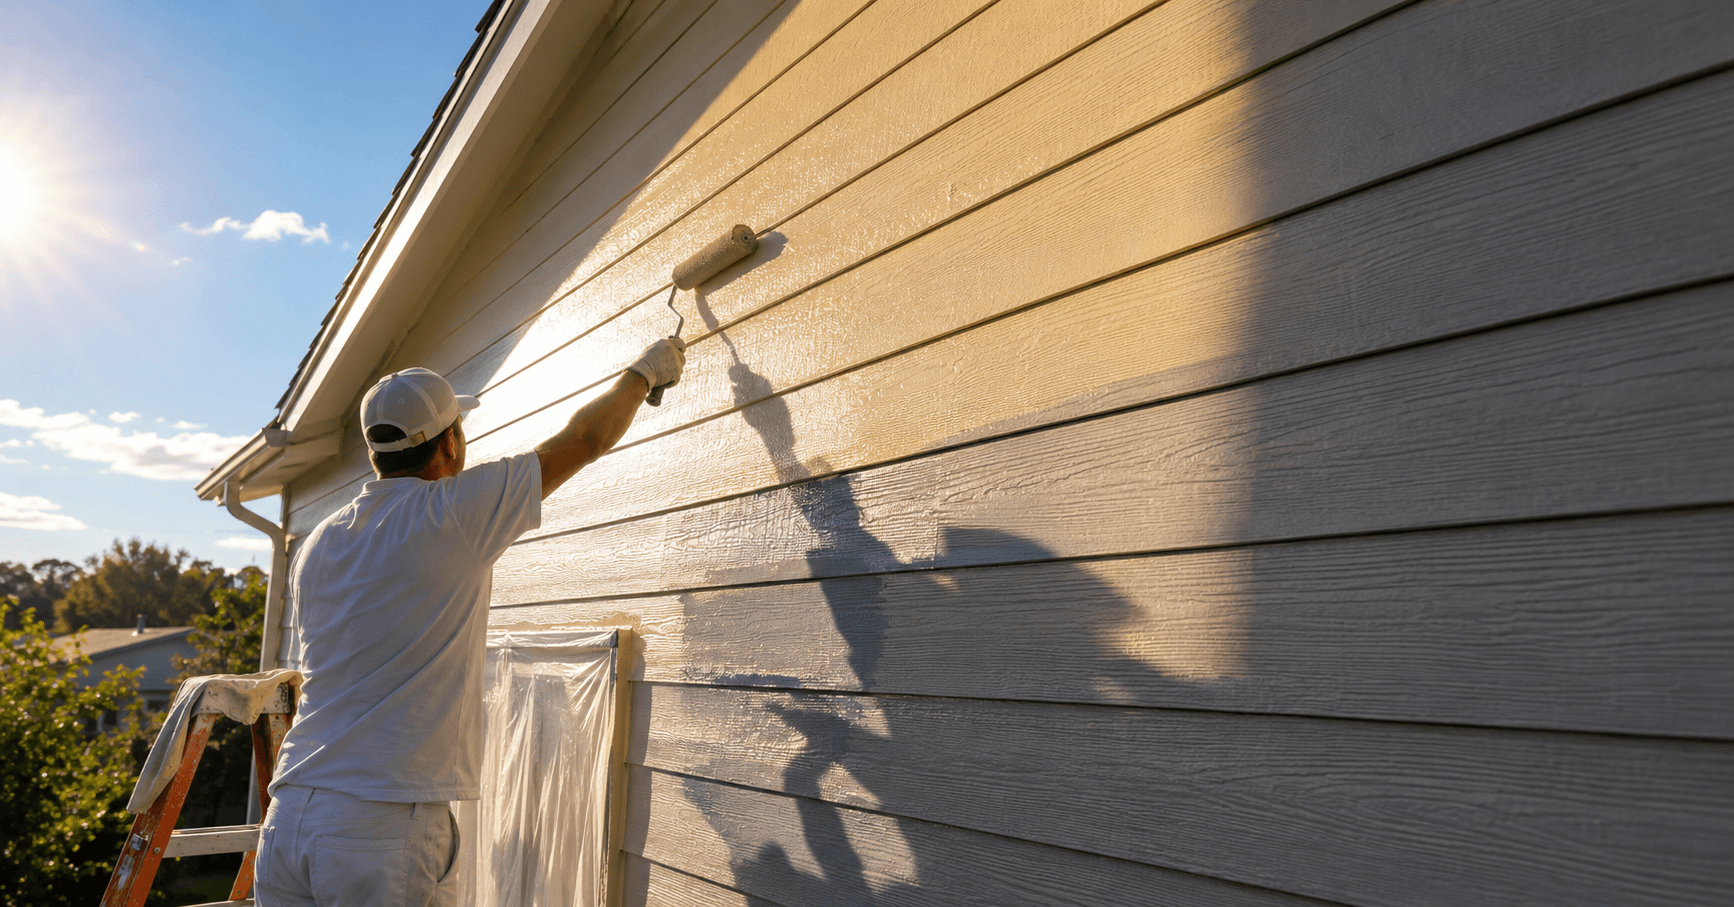
Direct sun makes exterior painting conditions worse in three distinct ways that most guides treat as one.
First, it raises the surface temperature of the substrate significantly above air temperature, as noted in the temperature section. A south or west-facing wall in full afternoon sun can reach 130°F on a 90°F day.
Second, intense UV radiation in direct sunlight begins breaking down the photoinitiators in latex paint before the film has fully cured. This is most significant with tinted colors using organic pigments, which can show UV-induced color shift within the first few days of cure if applied in direct sunlight.
Third, direct sun creates highly variable drying conditions across the same wall. A section in full sun dries much faster than an adjacent section in shadow, creating different film thicknesses, different sheens, and visible lap marks where the two sections meet. This is the primary cause of lap marks on painted siding.
The professional solution is to follow the shade around the house. Paint east-facing walls in the morning before the sun hits them, south-facing walls in late afternoon or on overcast days, and west-facing walls in the morning. This keeps the painting surface out of direct intense sun without restricting you to a narrow daily window.
Condition 7: Surface Moisture From Dew, Frost, or Wet Substrate
Morning dew is one of the most common causes of adhesion failure on exterior painting projects started too early in the day. Surfaces that look dry at 7 am are frequently still wet with condensed dew that is evaporating invisibly.
Before painting, dry all the surfaces you plan to paint, as moisture trapped beneath the paint can cause bubbling or mildew growth. If you live in a humid climate, try painting during a dry spell, aiming for mid-morning to avoid early dew and late-afternoon humidity.
The practical rule is to wait until mid-morning, generally two to three hours after sunrise, before beginning exterior painting regardless of how surfaces appear visually. This allows solar heating to evaporate morning dew that may not be visible but is affecting surface conditions.
Frost is a related and more severe version of the same problem. Any surface that has been at or below freezing overnight carries ice crystals in the wood fiber or substrate surface that are invisible once the temperature rises but are still affecting moisture content for hours after the apparent surface temperature has warmed. Never paint on the morning immediately following a frost night, even if the forecast day temperature is comfortably within the painting range.
When Not to Paint Outside by US Region: A Climate Guide
Avoid winter in northern states and summer in southern states. Coastal areas should work during dry seasons with lower humidity. Check local climate patterns to find your region’s best painting window.
Northeast and Upper Midwest (Maine, Vermont, Minnesota, Wisconsin): Do not paint from mid-October through April. Night temperatures in this region fall below paint-curing thresholds even when daytime conditions appear acceptable. The safe painting window is May through September, with June and September offering the most consistently favorable conditions.
Southeast and Gulf Coast (Florida, Louisiana, Mississippi, Georgia): Do not paint from June through September. Summer humidity in this region routinely exceeds 85% even on apparently clear days, and monsoon-pattern afternoon rain is nearly daily. The best painting window is October through March when humidity drops to manageable levels.
Southwest Desert (Arizona, Nevada, New Mexico): Do not paint during June through August midday hours when temperatures consistently exceed 90°F and surface temperatures reach 120 to 130°F. Early morning and evening hours in spring and fall offer the best conditions. Winter painting is viable on most days with temperatures in the 50 to 75°F range.
Pacific Northwest (Washington, Oregon): Do not paint from October through April due to persistent rain, high humidity, and temperatures that frequently drop below the minimum threshold. The reliable painting window is June through September, with July and August being the most consistent.
Mountain States (Colorado, Utah, Wyoming): Temperature swings are extreme throughout the year. Do not paint when overnight temperatures are expected below freezing or when afternoon temperatures exceed 85°F. Spring and early fall provide the narrowest but most reliable windows in most mountain elevations.
The One Condition Combination That Guarantees Failure
Individual bad conditions are serious. One specific combination is almost certain to produce catastrophic paint failure: high humidity plus low temperature plus rain forecast within 48 hours.
This combination appears regularly in early spring across much of the US, when homeowners are eager to start outdoor projects after winter. The temperature may be at or just above the minimum, the humidity is high from spring rains, and another weather system is expected in two days. Any paint applied in this window will fail, often dramatically, within the first season.
When you see this combination in the forecast, do not start exterior painting. Wait for a dry high-pressure system with stable temperatures to arrive before opening a can.
What Happens to Paint Applied in Wrong Conditions
Understanding the specific failure mode helps you diagnose whether the bad conditions or another factor caused the problem.
Bubbling and blistering: Almost always caused by moisture in the substrate or high humidity during application. Moisture trapped under the paint film creates vapor pressure that pushes the film away from the surface.
Peeling in sheets: Caused by painting over a surface with too-high moisture content or painting at temperatures below the minimum threshold. The adhesion layer never forms properly and the paint releases as a film.
Lap marks and uneven sheen: Caused by painting in direct sunlight or in windy conditions where different sections of the same surface dried at different rates.
Wrinkling: Caused by applying a second coat before the first coat has dried, or by high temperatures causing the top surface to skin over before the interior of the film has cured.
Color fading within one season: Caused by applying paint in direct intense sunlight during cure, which breaks down organic pigments before the protective film structure is fully formed.
When any of these failure modes appear within the first year of a new paint job, the application conditions are almost always the cause rather than the paint quality itself. The guide on how to fix peeling paint covers the diagnosis and repair process for every failure mode listed above and how to prep correctly for a lasting repaint after a failed application.
The Tools You Need to Check Conditions Accurately
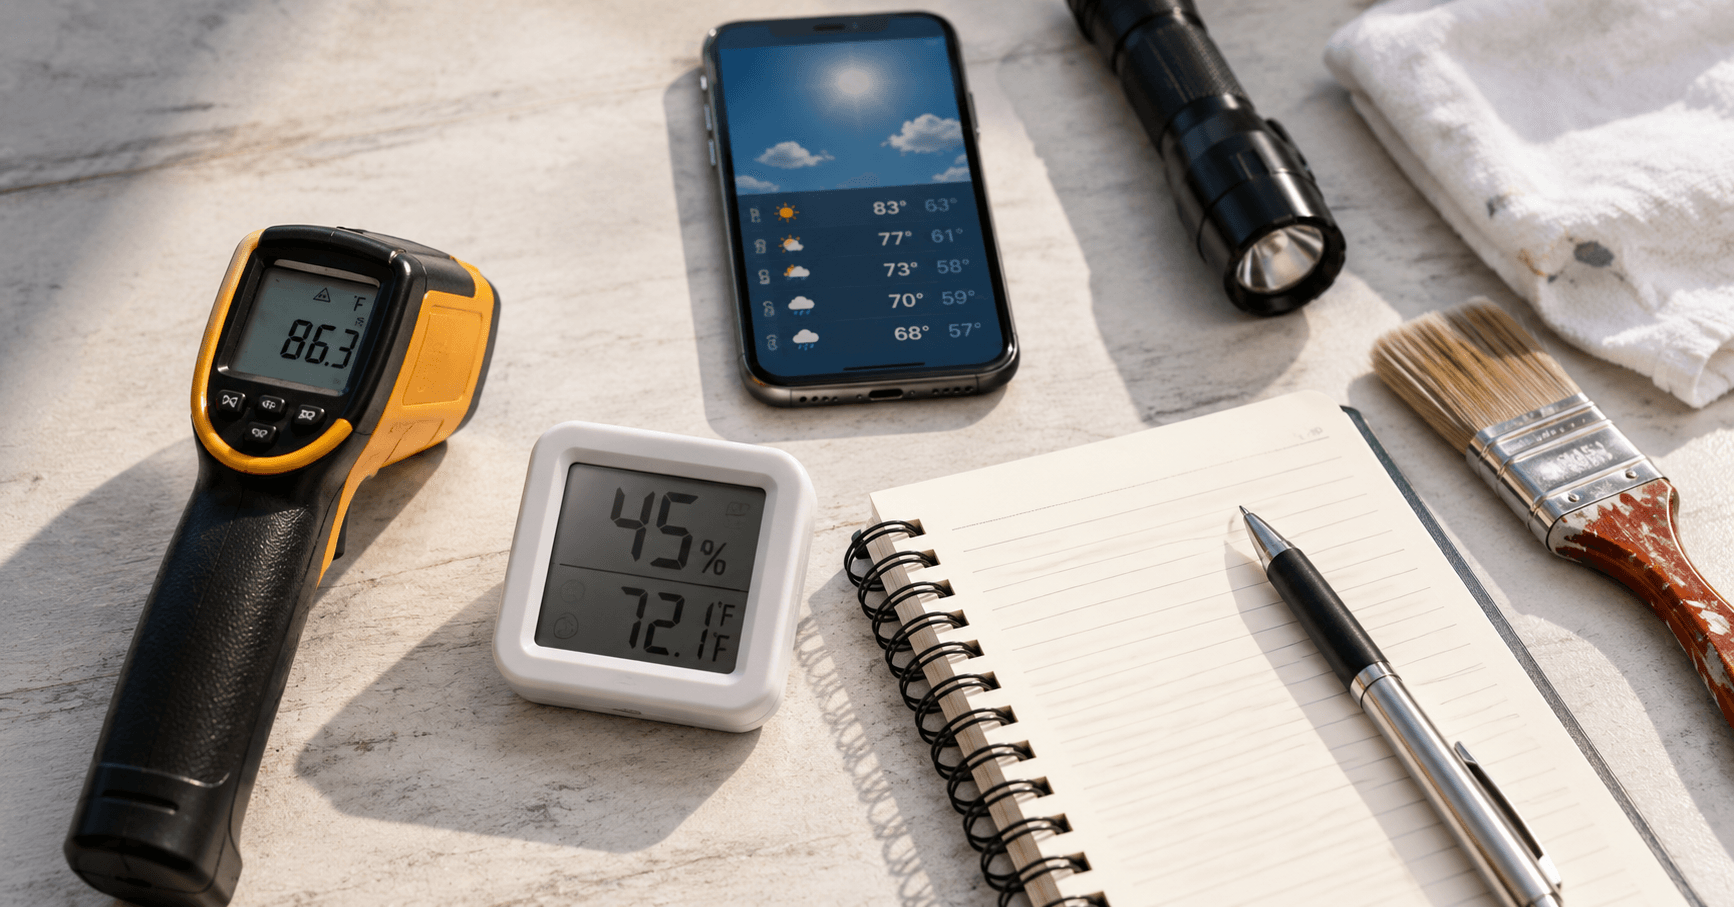
Thermometer for surface temperature: A non-contact infrared thermometer costs $15 to $30 and gives you the actual surface temperature of the wall you are about to paint, not just the air temperature. This single tool prevents the most common temperature-related mistakes.
Hygrometer for humidity: A digital hygrometer costs $10 to $20 and gives you real-time relative humidity at your location. Do not rely on the weather app, which reports regional averages. Local conditions in your yard can differ significantly, particularly if you are near water, in a valley, or surrounded by vegetation.
Weather.gov dew point reading: Check weather.gov for your local weather station’s current dew point reading and subtract it from the surface temperature reading on your thermometer. If the margin is 5°F or less, do not paint.
Five-day forecast check: Before starting any exterior project, check the five-day forecast for temperature lows and rain probability. A project started on a good day but followed by rain in 36 hours is a failed project.
For guidance on EPA-recommended safety practices during exterior painting, including ventilation and product selection guidelines, the EPA’s safer choice painting guide covers environmental and safety considerations that apply alongside the weather conditions covered in this guide.
For product-specific application conditions from the most widely used professional paint brand in the US, Sherwin-Williams maintains current exterior application guidance including minimum temperature, humidity, and surface preparation requirements at sherwin-williams.com.
When Conditions Are Never Perfect: How to Create Your Own Window
Most US homeowners do not have the flexibility to wait for perfect conditions. Fortunately, modern paint formulations have expanded the workable range, and there are legitimate ways to extend your usable window.
Low-temperature exterior paints are formulated to apply and cure in temperatures as low as 35°F. These products use modified latex resins with lower minimum film-forming temperature and allow painting through October and into November in northern states without the curing failures of standard latex applied in cold conditions.
High-humidity primers are specifically formulated to bond through surface moisture and provide a stable base for topcoat application in conditions that would prevent direct topcoat adhesion. These are particularly useful in coastal and Southeast markets.
Timing within the day gives significant control without changing the weather. The optimal window in most US conditions is 10 am to 4 pm, after morning dew has evaporated and before late afternoon humidity increases. Avoiding the first two and last two hours of daylight removes the two worst condition windows in most regions.
For broader guidance on planning outdoor home improvement projects around seasonal conditions and managing renovation budgets, the guide on home renovation tips and money-saving tricks covers how to sequence exterior projects for maximum efficiency and minimum waste.
Frequently Asked Questions
Q: What is the minimum temperature to paint outside?
A: The minimum for most standard latex exterior paints is 50°F, both air and surface temperature. Low-temperature formulations extend this to 35°F. Oil-based paints have a higher minimum of around 45°F. These minimums apply not just at application but for the full 24 to 48 hours after application during which the paint is curing. If nighttime temperatures will drop below the minimum, do not paint even if the current daytime temperature is within range.
Q: Can you paint outside if it rained yesterday?
A: Wait at least 24 hours after light rain on wood or composite siding. After heavy rain, wait 48 hours. On masonry, concrete, or stucco, wait two to three dry days. The key is not just surface appearance but substrate moisture content. Wood can feel dry to the touch while still holding moisture above the 12 to 15 percent threshold above which paint adhesion is compromised.
Q: What humidity level is too high to paint outside?
A: Above 85% relative humidity, most exterior paints will not dry correctly, and adhesion is compromised. The ideal range is 40 to 70%. In desert climates where humidity drops below 40%, paint dries too fast for proper leveling and flow. The dew point margin, at least 5°F between the surface temperature and the dew point, is a more precise check than relative humidity alone.
Q: Is it OK to paint outside in direct sunlight?
A: It depends on the surface temperature rather than the light itself. If direct sunlight raises the wall surface above 90°F, do not paint. The practical approach is to follow the shade around the house throughout the day, painting each face when it is out of direct intense sunlight. Overcast days provide the most consistent conditions because the entire house is uniformly shaded.
Q: Can I paint outside in fall or will it be too cold?
A: In the Southeast and Southwest, fall is the best painting season. In the Northeast and Upper Midwest, the safe fall painting window closes in mid-October. The specific risk in fall is not daytime temperature but nighttime temperature. Even on a 65°F day, a forecast overnight low of 35°F means the curing paint will be exposed to temperatures below the minimum threshold during its most vulnerable first 12 to 24 hours.
Planning an exterior painting project and not sure whether your forecast window is safe? Drop your location, the current temperature and humidity, and your planned start date in the comments, and we will help you assess whether conditions will work or whether waiting makes more sense.

Samreen Khadim Hussain is a home improvement writer and content creator at Domelite Home. She specializes in making home renovation, interior design, and bathroom safety accessible to everyday US homeowners, turning technical subjects into clear, actionable advice. Her work is rooted in research, real-world practicality, and a genuine belief that a better home is within everyone’s reach.
1 thought on “When Not to Paint Outside: 7 Conditions That Ruin Even Premium Paint”