
Quick Answer
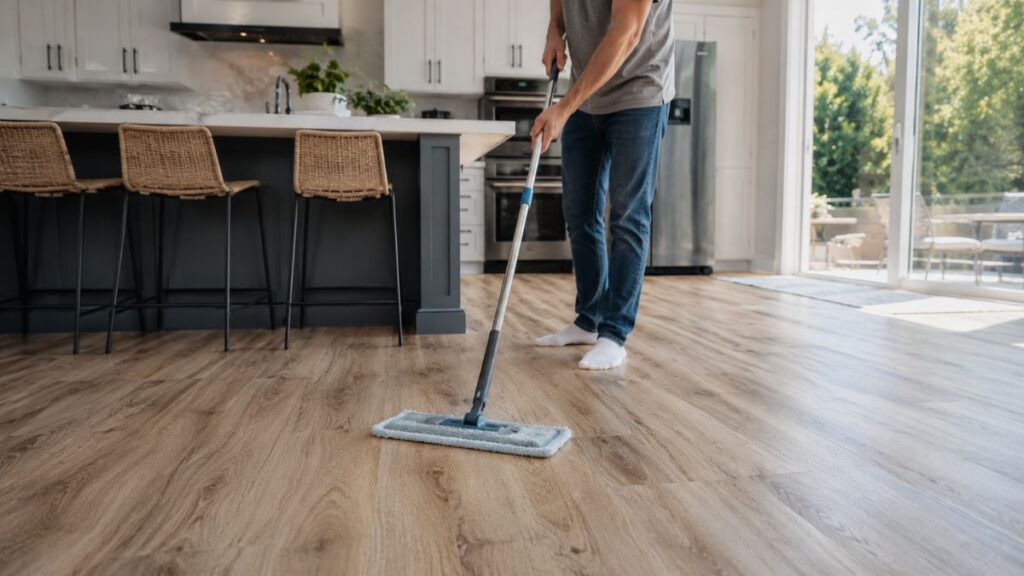
Sweep or vacuum the loose dirt first, then mop with a damp microfiber mop and either a pH-neutral cleaner or a mild vinegar-water mix, about 1 cup of white vinegar per gallon of water. Skip the steam mop, bleach, ammonia, and anything abrasive, they all wear down vinyl’s protective finish over time. Dry the floor once you’re done so it doesn’t streak or leave water sitting in the seams.
Key Takeaways
- Sweep or vacuum with a hard-floor setting before you mop, or you’re just dragging grit across the surface.
- A pH-neutral cleaner or diluted white vinegar (1 cup per gallon) is safe for most vinyl.
- Steam mops, bleach, ammonia, wax, and steel wool cause more vinyl floor damage than anything else.
- Wring your mop until it’s damp, not wet, standing water is one of the fastest ways to ruin the seams.
- Once a week is plenty for most homes, daily sweeping does more for your floor’s lifespan than frequent deep cleans.
- Wipe up spills right away, especially anything acidic or oily, since those are the ones that actually stain or dull the finish.
- Your manufacturer’s care guide beats generic advice every time the two disagree.
What Is Vinyl Flooring
There are three main types of vinyl flooring, and knowing which one is under your feet actually changes how carefully you need to treat it.
Luxury Vinyl Plank (LVP) is made to look like hardwood, installed in long planks that click together as a floating floor. Luxury Vinyl Tile (LVT) does the same thing but mimics stone or ceramic tile in individual squares, and it’s the format behind a lot of the checkerboard floor looks that have made a comeback in kitchens and bathrooms lately. Sheet vinyl comes in big rolls and gets glued down as one continuous piece, which is why you’ll see it so often in kitchens and bathrooms, fewer seams means fewer places for water to sneak in.
Then there’s the difference between waterproof and water-resistant vinyl, which trips a lot of people up. Waterproof vinyl has a fully sealed core, so water sitting on it isn’t going to cause swelling or warping even if you don’t catch it right away. Water-resistant vinyl can handle a spill just fine as long as you clean it up promptly, but standing water can eventually work its way into the seams and damage the subfloor underneath. If you’re not sure which one you have, check the packaging or the manufacturer’s listing, it makes a real difference in how forgiving your floor actually is.
Why Proper Cleaning Matters
Every vinyl floor has a wear layer, a clear protective coating on top that’s doing most of the work when it comes to scratch resistance and shine. Clean it the wrong way, and you’re not just making the floor look worse, you’re actually wearing that layer down faster than normal foot traffic ever would.
Dirt and grit left sitting on the surface act like sandpaper under shoes and furniture legs, slowly dulling the finish through plain abrasion. The wrong cleaning products cause a different kind of damage, breaking the wear layer down chemically and leaving behind a hazy film that no amount of mopping seems to fix. And moisture that doesn’t get dried properly can creep into seams and edges, which is where the swelling and lifting problems start, especially on water-resistant floors rather than fully waterproof ones. Get the cleaning routine right, though, and a good vinyl floor can easily look close to new for 15 to 25 years, which matters if flooring condition is ever part of a bigger picture, like when you’re weighing cheap ways to increase home value before selling.
A quick way to check for hidden water damage: press firmly on a seam with your palm. If you feel any give, sponginess, or hear a faint crackle, moisture has likely worked underneath, even if the surface looks fine. Catching this early, before the floor visibly bubbles or lifts, is the difference between a quick dry-out and pulling up planks, and it’s the same kind of check worth doing before you buy a home, not just while you own one, our home inspection checklist for buyers covers flooring red flags alongside everything else worth walking through.
Climate plays a bigger role here than most cleaning guides mention. In humid regions, vinyl takes longer to fully dry between mops, so seams stay damp longer even if you think you dried the surface. In dry climates, the opposite problem shows up: some vinyl can shrink slightly at the edges over a very dry winter, leaving hairline gaps that then become the exact spots where spills seep through fastest. Neither is a defect, it’s just worth knowing which failure mode your climate makes more likely.
Cleaning Supplies You’ll Need
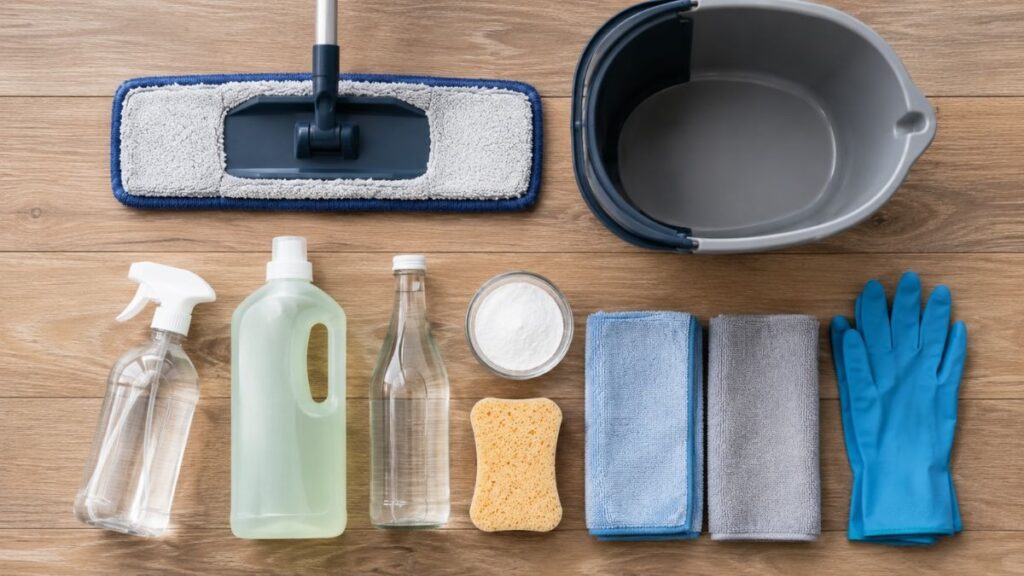
| Supply | Purpose |
| Microfiber mop | Gentle on the wear layer, absorbs dirt without scratching |
| Soft broom | Daily sweeping without abrasive bristle damage |
| Vacuum with hard-floor setting | Removes grit without the beater bar scratching the surface |
| Bucket | Mixing and carrying cleaning solution |
| Warm water | Base for most cleaning solutions |
| pH-neutral vinyl cleaner | Safest dedicated option, won’t strip the finish |
| White vinegar | Natural, effective for diluted cleaning solutions |
| Mild dish soap | Cuts grease in small amounts, rinse afterward |
| Baking soda | Gentle abrasive paste for scuffs, used sparingly |
| Soft cloths | Spot cleaning and drying without scratching |
What not to use: skip any vacuum with a beater bar or rotating brush head that isn’t set to hard-floor mode, leave the old cotton string mop in the closet since it holds too much water, and don’t reach for anything with bristles stiffer than nylon.
How to Clean Vinyl Flooring Step by Step
1. Remove Loose Dirt
Sweep or dry-vacuum the whole floor before anything gets wet. Why it matters: mopping over grit basically drags sandpaper across your floor. Pro Tip: don’t skip corners and the space under furniture, that’s where dust piles up fastest. Common Mistake: jumping straight to mopping, which is probably the number one reason floors end up with fine surface scratches.
2. Vacuum Correctly
If you’re vacuuming instead of sweeping, switch to the hard-floor or bare-floor setting so the beater bar stops spinning. Why it matters: a brush roll built for carpet will scuff vinyl if you let it. Pro Tip: a canister vacuum with a soft floor attachment tends to be gentler than most uprights. Common Mistake: leaving it on the carpet setting out of habit, easy to do without thinking.
3. Prepare Your Cleaning Solution
Mix warm water with a pH-neutral vinyl cleaner, or go the natural route with 1 cup of white vinegar per gallon of water. Why it matters: the wrong pH slowly eats away at the wear layer. Pro Tip: only add a few drops of dish soap if the floor’s really dirty, too much and you’ll end up with a sticky residue. Common Mistake: using vinegar full-strength or pouring in too much soap, both leave that dulling film behind.
4. Mop Correctly
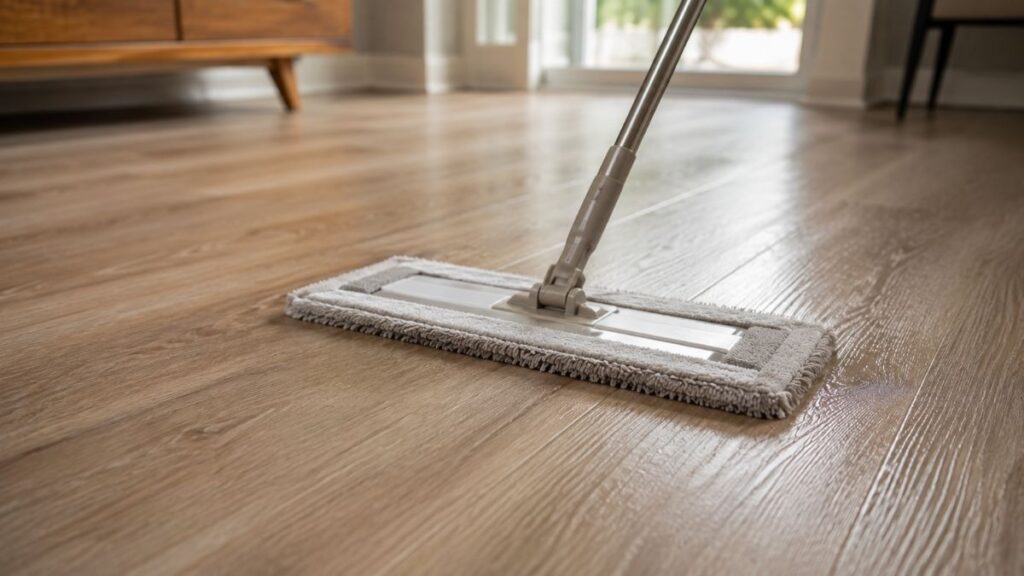
Dip your microfiber mop, wring it out until it’s damp rather than dripping, and mop with the direction of the plank seams. Why it matters: extra water finds its way into seams and edges over time. Pro Tip: rinse and wring often so you’re not just pushing dirty water around the room. Common Mistake: grabbing a string or sponge mop, which holds way more water than vinyl wants.
5. Remove Stains
Spot-treat the stubborn spots with a soft cloth and a little solution instead of soaking the whole floor again. Why it matters: targeted cleaning means you’re not re-wetting areas that are already clean and dry. Pro Tip: let the solution sit on a tough spot for a minute before you wipe, rather than scrubbing harder right away. Common Mistake: reaching for something abrasive before you’ve even tried the gentle approach.
6. Dry the Floor
Go back over the floor with a dry microfiber mop or towel right after mopping. Why it matters: letting it air-dry alone tends to leave streaks and gives water more time sitting in the seams than it needs. Pro Tip: crack a window or run a fan if it’s humid, it speeds things up noticeably. Common Mistake: skipping this and letting the floor air-dry on its own, especially risky on water-resistant (not fully waterproof) vinyl.
7. Restore Shine
Once everything’s dry, a vinyl-approved floor polish, not wax, can bring back shine to a floor that’s looking a bit dull, and you really only need to do this every few months. Why it matters: actual wax builds up in layers and eventually needs stripping, which is far more work than it saves. Pro Tip: test any new shine product in a small, hidden spot first. Common Mistake: assuming any floor polish will do, always double-check it’s rated specifically for vinyl.
Homemade Vinyl Floor Cleaner Recipes
| Recipe | Mix | Best For | Avoid When |
| Vinegar solution | 1 cup white vinegar per gallon warm water | Regular weekly mopping | Your manufacturer explicitly says no vinegar |
| Dish soap solution | A few drops mild dish soap in a gallon of warm water | Greasy kitchen floors | Using it alone, follow up with a plain-water rinse pass |
| Baking soda paste | Baking soda mixed with a small amount of water | Scuffs and localized marks | Using it over a large area, it’s mildly abrasive |
| Isopropyl alcohol | Small amount on a soft cloth, undiluted | Scuff marks and sticker residue | Anything beyond spot use, never a full-floor cleaner |
Best Commercial Vinyl Floor Cleaners
Instead of pointing you toward specific bottles, here’s how to shop by category, since the right pick really depends on your household.
| Category | What to Look For |
| Best Overall | pH-neutral formula labeled safe for LVP/LVT, no rinse required |
| Budget Pick | Concentrated formula you dilute yourself, cuts the cost per use |
| Pet-Friendly | Fragrance-free, non-toxic once fully dry |
| Heavy Dirt | A bit more degreasing power, still pH-neutral |
| No-Rinse Formula | Streak-free finish, handy on larger floors where a second rinse pass just isn’t practical |
Whatever you land on, check that the label actually says safe for luxury vinyl or LVP/LVT. Brands like Armstrong and Shaw publish their own approved cleaner lists for exactly this reason, worth a quick look if you’re not sure.
How to Remove Common Stains
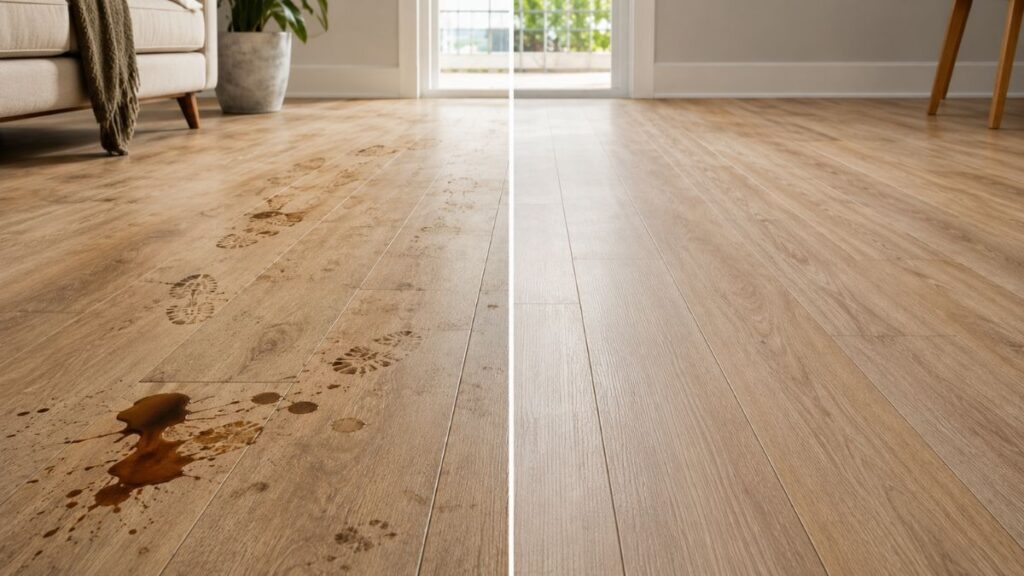
| Stain | Method |
| Mud | Let it dry completely, vacuum it up, then wet-clean whatever’s left |
| Food | Scrape off the excess gently, then clean with a mild soap solution |
| Grease | Dish soap solution cuts through it without a harsh degreaser |
| Ink | Isopropyl alcohol on a cloth, blot instead of rubbing |
| Paint | Scrape off the dried excess carefully, then hit the rest with isopropyl alcohol |
| Marker | Isopropyl alcohol, test it in a hidden spot first |
| Coffee | Mild soap solution, sooner rather than later before it sets in |
| Pet accidents | Mild soap and water, and clean it up fast to avoid staining or odor |
| Rubber scuffs | Baking soda paste, gentle circles |
| Adhesive residue | Isopropyl alcohol on a soft cloth, don’t scrape at it with anything sharp |
Things You Should Never Use
- Steam mops , the heat and moisture soften the adhesive under the planks and can lead to warping or lifting.
- Bleach , breaks down the protective wear layer with repeated use.
- Ammonia , same problem as bleach, degrades the finish and can leave a dull film behind.
- Abrasive scrubbers , physically scratch the surface, and once it’s scratched, dirt just has more places to hide.
- Steel wool , probably the worst offender here, leaves visible micro-scratches almost immediately.
- Wax , builds up in layers and eventually needs professional stripping to undo.
- Oil soap , leaves a residue that dulls the shine and actually attracts more dirt.
- High-pressure cleaners , push water into seams and edges far more aggressively than normal mopping ever would.
How Often Should You Clean Vinyl Floors
| Frequency | Task |
| Daily | A quick sweep in high-traffic spots, kitchens and entryways especially |
| Weekly | Full sweep or vacuum plus a damp mop with cleaning solution |
| Monthly | Take a closer look for scuffs and spot-treat what you find |
| Seasonally | A deeper clean, plus a check for any dulling in the wear layer, apply polish if needed |
Vinyl Flooring Care Tips
- Put doormats at every entrance, it cuts down on tracked-in grit more than people expect.
- Add felt or rubber pads under furniture legs.
- Lift furniture instead of dragging it, always.
- Keep pet nails trimmed to reduce surface scratching.
- Clean up spills the moment they happen, especially anything acidic like citrus or vinegar-based foods.
- Keep high heels and cleats off vinyl floors when you can.
- Use blinds or curtains to limit sun fading over the years.
- Skip rubber-backed mats, they can actually discolor vinyl over time.
- Check your mop head for buildup now and then, a dirty mop just spreads grime around.
- Don’t over-wet the mop, damp is always the target.
- Keep one microfiber cloth set aside just for spot cleaning vinyl.
- Use furniture sliders instead of dragging heavy appliances across the floor.
- Crack a window or run a fan while cleaning to help things dry faster.
- Test any new cleaning product in a hidden corner before going all in.
- When your manufacturer’s care guide disagrees with generic advice, go with the manufacturer.
Common Mistakes Homeowners Make
- Reaching for a steam mop to “deep clean.” It feels thorough, but it’s probably the most common cause of early seam damage.
- Skipping the dry sweep before mopping. You end up scratching the surface instead of actually cleaning it.
- Letting spills sit. Acidic or oily spills left too long can etch or dull the finish for good.
- Going heavy on the soap. Extra suds leave a sticky film that attracts more dirt, so the floor never quite feels clean.
- Assuming all vinyl is waterproof. Water-resistant vinyl can still take damage from standing water at the seams.
When Cleaning Isn’t Enough: Signs You’re Looking at Damage, Not Dirt
Not every dull spot or mark comes off with cleaning, and it’s worth knowing the difference so you’re not scrubbing at something that was never dirt in the first place.
- A dull patch that stays dull after cleaning is usually wear-layer damage from an old cleaning mistake, like a wax buildup or a spot that saw a harsh chemical once. No amount of remopping brings that shine back; it needs a vinyl-specific polish or, if severe, plank replacement.
- A discolored streak that follows a seam line is often sun fading or, less commonly, early water intrusion. Press-test that seam the way described above before assuming it’s just a stain.
- A slightly raised or “bouncy” spot underfoot almost always means moisture got under the plank and the subfloor is affected. This is a repair issue, not a cleaning one.
- A dark ring that keeps coming back in the same spot even after cleaning is frequently a sign something under that exact spot, a rug backing, a planter, a pet bed, is trapping moisture against the floor between cleanings.
If you’re dealing with any of the four above, cleaning products won’t fix it, and continuing to scrub at it usually just adds more wear-layer stress to a spot that’s already compromised.
Frequently Asked Questions
Can I use vinegar on vinyl flooring?
Yes, diluted white vinegar, about 1 cup per gallon of warm water, is a safe and effective natural cleaner for most vinyl flooring. Just don’t apply it undiluted, and check your manufacturer’s guidelines first, since brands like Shaw specifically advise against vinegar-based cleaners on their luxury vinyl products.
Can you use a steam mop on vinyl plank flooring?
No. The heat and moisture can soften the adhesive under the planks, and that’s how you end up with warping, buckling, or lifted seams down the road.
What is the best way to clean vinyl floors without leaving streaks?
A well-wrung, damp (not wet) microfiber mop with a pH-neutral cleaner or diluted vinegar solution, followed by drying the floor with a clean cloth or mop right after.
How do I get scuff marks off vinyl flooring?
A baking soda paste rubbed gently in a circular motion handles most scuffs. For anything stubborn, a bit of isopropyl alcohol on a soft cloth usually finishes the job.
Is Swiffer safe on vinyl plank flooring?
Both the dry and wet versions are generally fine, as long as the wet pads aren’t leaving residue behind and you’re not soaking the floor.
How often should you mop vinyl floors?
Weekly is enough for most households, with more frequent sweeping in the busier spots like the kitchen or entryway.
Can I use bleach on vinyl flooring?
No. It breaks down the protective wear layer with repeated use and can leave the finish looking dull and damaged.
What household items are safe to clean vinyl floors?
White vinegar, a small amount of mild dish soap, baking soda for scuffs, and isopropyl alcohol for spot treatment are all generally fine to use.
Does vinegar damage vinyl flooring over time?
Undiluted vinegar can, since it’s acidic enough to wear at the finish with repeated use. Diluted properly, about 1 cup per gallon of water, most manufacturers consider it safe.
How do you remove pet urine stains from vinyl flooring?
Clean it promptly with a mild soap and water solution, blotting rather than scrubbing. The sooner you get to it, the less likely it leaves a stain or lingering odor.
Can you wax vinyl flooring?
Only with a product made specifically for vinyl. Regular floor wax builds up over time and eventually needs professional stripping, which is more hassle than it’s worth.
What causes vinyl flooring to look dull over time?
Usually one of three things: grit abrasion from unswept dirt, chemical damage from bleach or ammonia, or buildup from wax or oil soap.
Is it safe to use a regular vacuum on vinyl floors?
Yes, as long as it’s set to hard-floor mode so the rotating beater brush isn’t spinning. Leave it on the carpet setting and you risk scuffing the surface over time.
How do you clean grout lines on sheet vinyl or vinyl tile?
A soft-bristle brush with a mild soap solution works well on textured grout lines. Skip the stiff scrub brush, it’ll wear down the texture faster than normal wear and tear would.
Final Verdict
Vinyl holds up to everyday life better than almost any other flooring you can buy, but only if you’re cleaning it with the right tools and products. Stick to a soft broom or hard-floor vacuum setting, a damp microfiber mop, and a pH-neutral or properly diluted vinegar solution, and just leave the steam mop and harsh chemicals out of the routine entirely. Keep it up consistently, and a good vinyl floor really can look close to new well past the ten-year mark.

I started Domelite Home because I got tired of home improvement advice that was either too vague or written by people who had never actually picked up a drill. I’m Naik Zali Shah I’ve spent years obsessing over renovation projects, smart home setups, and interior design, and I built this site to share what actually works. No fluff, no filler. Just honest advice for homeowners who want to get things right the first time.
1 thought on “How to Clean Vinyl Flooring: The Complete Guide”