
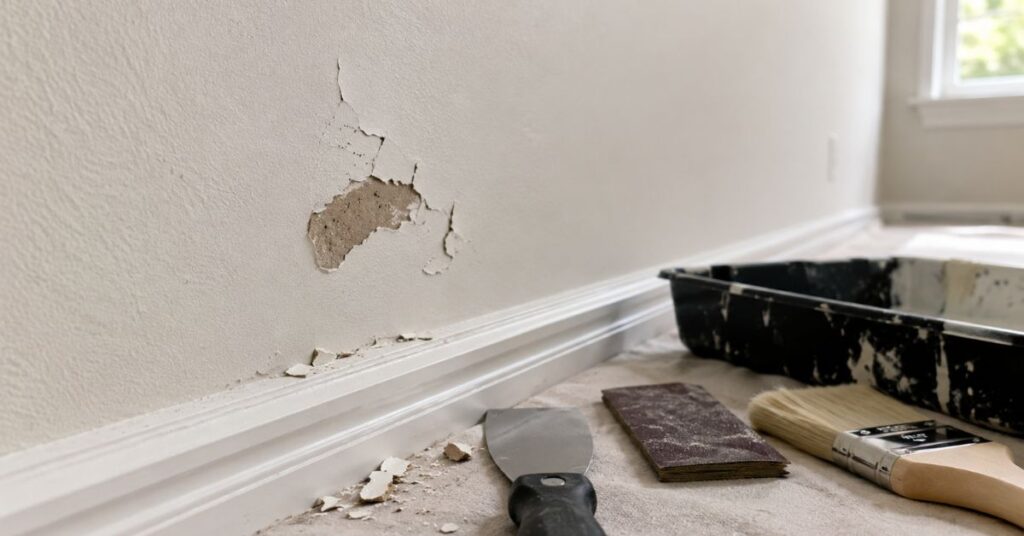
Quick Answer: To repair chipped paint, clean the area, sand the edges smooth, fill deep chips with spackling or wood filler, prime the bare spot, and repaint with matching paint in thin coats. Most repairs cost under $20 and take under an hour. The mistake that causes visible patches is skipping the feathering step when sanding or applying too thick a topcoat.
Chipped paint is one of those problems that looks simple and is, once you know the right order of steps. Most failed repairs come from skipping two things: proper edge feathering before painting and priming bare spots before applying the topcoat. Miss either one and the patch is visible from across the room.
This guide covers how to repair chipped paint on walls, wood trim, doors, and exterior surfaces, the right filler for each surface, and how to match paint so the repair disappears rather than standing out.
Why Paint Chips and What It Tells You
Before repairing chipped paint, spend 30 seconds understanding why it chipped. The cause determines whether the repair will last or fail again within months.
Impact damage: A sharp or heavy object hit the surface. The chip is clean-edged and localized. Fix it and move on.
Moisture beneath the paint film: The chip has soft, spongy material underneath or the edges curl upward. Water got behind the paint and broke the bond. Fixing the chip without addressing the moisture source means the repair fails within one season. Check for leaks, condensation, or missing caulk nearby before repainting.
Old, brittle paint layers: Multiple layers of old paint peeling together in larger sections. Common in homes built before 1980. The repair process is the same, but you may be dealing with lead paint. Test before sanding or scraping.
Wrong paint applied previously: The existing paint is peeling cleanly in sheets, especially at seams. This is often caused by applying latex paint directly over oil-based paint without a bonding primer. The repair needs a bonding primer layer between the old surface and the new paint.
Knowing the cause means your repair lasts. For a deeper look at why paint fails and how to address moisture-related causes specifically, the guide on how to fix peeling paint covers every failure mode and the correct prep for each.
Tools and Materials You Need
| Item | Cost | When Needed |
| Fine-grit sandpaper (120 and 220 grit) | $5 to $10 | Every repair |
| Sanding sponge | $3 to $6 | Curved or tight areas |
| Spackling compound | $5 to $10 | Wall chips |
| Wood filler (paintable) | $6 to $12 | Wood trim and doors |
| Putty knife or flexible scraper | $5 to $10 | Applying filler |
| Primer (shellac or bonding primer) | $8 to $18 | Bare spots before paint |
| Matching paint | Varies | Topcoat |
| Small foam roller (4-inch) | $3 to $6 | Smooth topcoat application |
| Artist’s brush (1-inch) | $3 to $5 | Tight or detailed areas |
| Tack cloth | $2 to $4 | Removing sanding dust |
How to Repair Chipped Paint: The 6-Step Repair Process
Step 1: Clean the Area Thoroughly
Wash the chipped area and a six-inch border around it with warm water and mild dish soap. Rinse and let it dry completely. Any grease, dust, or soap residue on the surface prevents the new paint from bonding. In kitchens and bathrooms where surfaces collect grease and soap film, a degreasing cleaner is more effective than dish soap alone.
Do not skip the drying time. Painting over a slightly damp surface is one of the most common causes of repair failure. Wait at least 30 minutes in normal conditions, longer in high-humidity environments.
Step 2: Remove All Loose Paint
Use a putty knife or the edge of a flexible scraper to remove every piece of paint that is not firmly bonded to the surface. Work outward from the chip. If paint lifts easily when you press the scraper edge against it, it will come off now or after you repaint, and you want it off now.
Press your thumbnail against the paint around the chip perimeter. If the paint dents or feels soft and spongy rather than hard and crisp, there is moisture damage in the substrate. Identify and fix the moisture source before proceeding with any repair.
Step 3: Sand and Feather the Edges
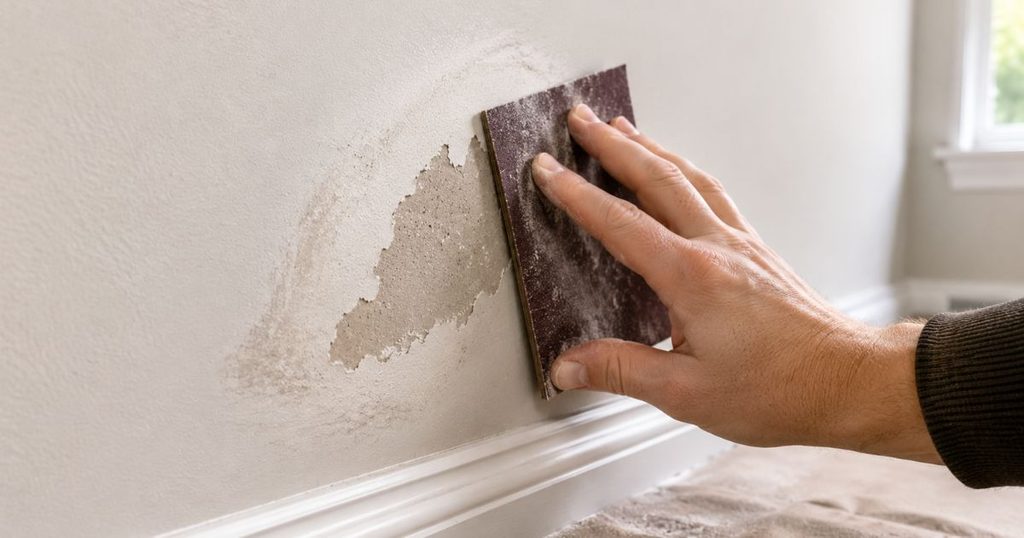
This is the step most DIYers skip that makes patches visible.
Use 120-grit sandpaper to sand the edges of the chip and the transition between the remaining paint and the bare surface. The goal is to create a gradual slope from the painted surface down to the bare area rather than an abrupt vertical edge. This sloped transition is called feathering and it is what makes the topcoat disappear into the surrounding surface rather than creating a visible ring around the patch.
After feathering with 120-grit, switch to 220-grit and sand the entire repair area lightly to create a smooth, consistent surface for primer and paint to bond into.
If the home was built before 1978, follow EPA lead-safe practices before sanding or scraping old paint because disturbing lead-based paint can create hazardous dust.
Wipe all sanding dust away with a tack cloth before moving to the next step. Sanding dust left on the surface creates a barrier that prevents adhesion.
Step 4: Fill Deep Chips
If the chip has removed not just the paint but also material from the surface underneath, the depression needs to be filled before priming.
For walls: Use spackling compound. Apply with a flexible putty knife, pressing the compound firmly into the chip and drawing the blade across the surface to leave the compound flush or very slightly proud of the surrounding surface. Let it dry completely. Spackling shrinks slightly as it dries, so a second thin coat is usually needed to bring it fully flush. Sand smooth with 220-grit when dry.
For wood trim and doors: Use a paintable wood filler rather than spackling. Wood filler is harder when dry and more durable under the regular wear and contact that trim and doors experience. Apply the same way as spackling, let dry, and sand smooth.
For exterior surfaces: Use an exterior-grade paintable caulk or exterior wood filler that is specifically rated for outdoor use. Interior spackling on exterior surfaces absorbs moisture and fails within one season.
Very shallow chips that are only in the paint film and have not removed any substrate material can skip this step and go directly to priming.
Step 5: Prime the Bare Spot
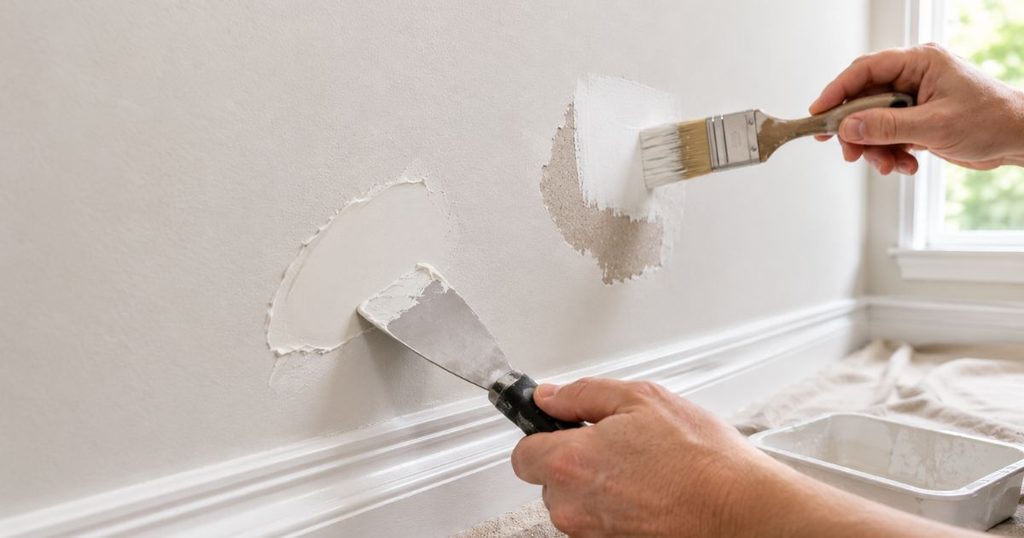
Priming bare spots before repainting is the step that most homeowners skip and most failed patches trace back to. Without primer, the topcoat paint soaks into the bare substrate differently than it soaks into the surrounding painted surface. The result is a spot with a different sheen, a different texture, and a different color depth that is visible even when the paint color matches exactly.
A shellac-based primer like Zinsser BIN is the most reliable option for spot priming because it seals the surface completely, blocks stains, and works on every surface type including wood, plaster, drywall, and previously painted surfaces. Apply a thin coat, let it dry for 30 minutes, and lightly sand with 220-grit before painting.
For repairs where the chip was caused by applying latex over oil-based paint, use a bonding primer specifically. This creates the adhesion layer between the incompatible materials that prevents the same delamination from recurring.
For exterior repairs, use an exterior-grade primer rather than an interior product. Exterior primers are formulated to handle moisture and temperature fluctuations that interior primers are not designed to resist.
Step 6: Apply the Topcoat in Thin Coats
Apply the matching paint in thin, even coats using a small foam roller for flat surfaces or a quality brush for trim and detailed areas.
Thin coats are critical. A single thick coat shrinks unevenly as it dries, leaves brush marks that do not level out, and creates a ring of extra paint thickness at the border of the patch that is visible when light rakes across the surface. Two thin coats applied after full drying between them produce a more level, more uniform result than one thick coat every time.
On the first coat, apply paint slightly larger than the repair area to blend the transition into the surrounding surface. On the second coat, feather the edges of the new paint into the old by pulling the brush or roller from the patch outward onto the surrounding painted area with decreasing pressure. This blending step is what makes the repair invisible.
How to Match Paint for Chipped Paint Repairs
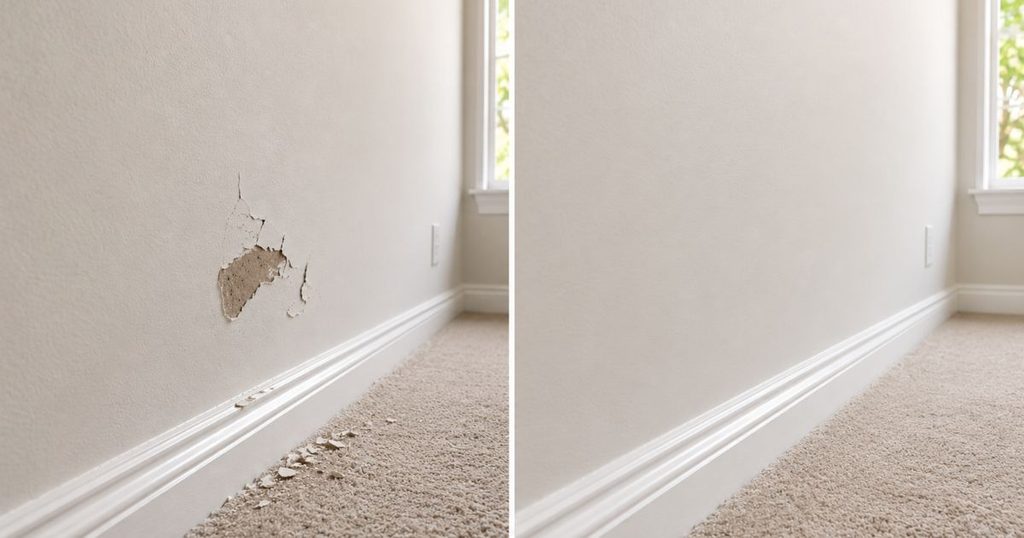
Matching paint is the most frustrating part of chipped paint repair for most homeowners. Here is what actually works.
Use leftover paint from the original job. If you have it, test it on an inconspicuous area first. Paint from five or more years ago may have shifted in color from UV exposure on the wall, even if the paint in the can looks the same. A close match from leftover paint is usually acceptable but may not be invisible.
Bring a chip to the hardware store for color matching. Take a large chip, at least one inch square, to any Home Depot, Lowe’s, or Sherwin-Williams location. Their spectrophotometers read the color and produce a formula match. Match to the same paint finish (flat, eggshell, satin, semi-gloss) as the original or the sheen difference will be visible even if the color is perfect.
Accept that a perfect match may require repainting the whole wall. Paint ages on walls. New paint on a small patch rarely matches aged paint around it perfectly when viewed in raking light. If invisibility is the goal and the chip is in a prominent location, painting the entire wall from corner to corner is the only way to fully hide the repair.
Surface-Specific Guidance
Interior Walls (Drywall and Plaster)
The most common repair scenario. Follow the full six-step process. Use spackling for filling and a flat or eggshell finish topcoat matching the existing wall sheen. Matte finishes hide repair imperfections better than gloss finishes, but match what is already on the wall.
Wood Trim and Doors
Wood trim takes more mechanical wear than walls and needs a harder repair material. Use wood filler rather than spackling, and a semi-gloss or gloss topcoat, which is what most trim in US homes uses. Sand between coats for a smooth result since brush marks are more visible on gloss surfaces than on flat surfaces.
Exterior Surfaces
Exterior repairs need weather-resistant materials at every step. Exterior filler, exterior primer, and exterior topcoat are all required. Interior products on exterior surfaces fail within one season as moisture penetration and temperature swings break down materials not formulated for outdoor conditions.
Timing the exterior repair also matters. Applying paint in the wrong weather conditions ruins the repair regardless of how well the preparation was done. The guide on when not to paint outside covers the exact temperature, humidity, and dew point conditions required for exterior paint to bond and cure correctly.
Metal Surfaces (Railings, Doors, Fixtures)
Sand the chipped area with 80-grit sandpaper to remove rust if present, then with 120-grit to smooth the edges. Apply a rust-inhibiting primer before the topcoat on any ferrous metal. For aluminum and non-rusting metals, use a bonding primer rated for metal surfaces. Apply a topcoat rated for metal and exterior use.
The Repair Still Shows: Why and How to Fix It
Even when every step is followed correctly, some repairs remain visible. Here is the specific cause for each visible outcome.
Raised patch (paint ridge around the repair): The topcoat was applied too thick or was not feathered into the surrounding surface. Sand the raised area lightly with 220-grit after full cure, apply a thin feathered coat, and let dry.
Sunken patch (paint sits lower than surrounding surface): The filler shrank more than expected or was not built up flush before painting. Fill again, sand flush, prime, and repaint.
Color mismatch (patch is visibly lighter or darker): The paint did not match, or the existing wall paint has aged significantly. Apply one thin coat over the entire wall section between corners to blend.
Sheen mismatch (patch looks shinier or flatter): The primer absorbed the topcoat unevenly, or the finish did not match. A second thin topcoat applied over a slightly larger area usually resolves this.
Texture mismatch (patch looks smoother than surrounding surface): The surrounding surface has texture from roller stipple or an applied wall texture that the repair did not replicate. For minor texture, a light coat with a medium-nap roller over the patch can add enough stipple to match. For heavier textures, a texture spray can from any hardware store is the fastest solution.
Frequently Asked Questions: How to Repair Chipped Paint
Q: Can you paint directly over chipped paint without sanding?
A: No. Painting over chipped paint without removing the loose material and feathering the edges creates a visible ridge, and the new paint bonds to unstable material that continues to chip. Remove all loose paint, sand the edges to a smooth feathered transition, prime bare spots, and then paint.
Q: What is the best filler for chipped paint on walls?
A: Lightweight spackling compound is the best choice for wall chip repairs. It dries fast, sands easily to a smooth finish, and shrinks minimally. For deeper chips, two thin coats of spackling produce better results than one thick application that cracks as it shrinks.
Q: How do I fix chipped paint on exterior wood?
A: Use exterior-grade paintable wood filler for the chip, an exterior primer on the bare wood, and an exterior topcoat formulated for wood. Apply only when temperatures are between 50 and 90°F with humidity below 85%. Interior products on exterior wood fail within one season from moisture and temperature exposure.
Q: Why does my paint chip repair always look patchy?
A: The two most common causes are skipping the primer on the bare spot, which causes uneven absorption, and applying the topcoat too thick without feathering into the surrounding surface. Prime every bare spot, apply thin coats, and feather the edges of the new paint outward onto the existing surface with decreasing pressure on each stroke.
Q: How long should I wait before repainting a chipped paint repair?
A: Let spackling or wood filler dry completely before priming, typically one to two hours for thin applications. Let primer dry for at least 30 minutes before applying the topcoat. Between topcoats, follow the paint manufacturer’s recoat time, typically two to four hours for latex paint. Rushing any of these dry times causes the next layer to lift or wrinkle.
Dealing with a specific chip situation that does not match the scenarios above? Drop the surface type, location, and what the chip looks like in the comments, and we will help you choose the right repair approach.

Samreen Khadim Hussain is a home improvement writer and content creator at Domelite Home. She specializes in making home renovation, interior design, and bathroom safety accessible to everyday US homeowners, turning technical subjects into clear, actionable advice. Her work is rooted in research, real-world practicality, and a genuine belief that a better home is within everyone’s reach.
1 thought on “How to Repair Chipped Paint: 6 Fixes That Last”