
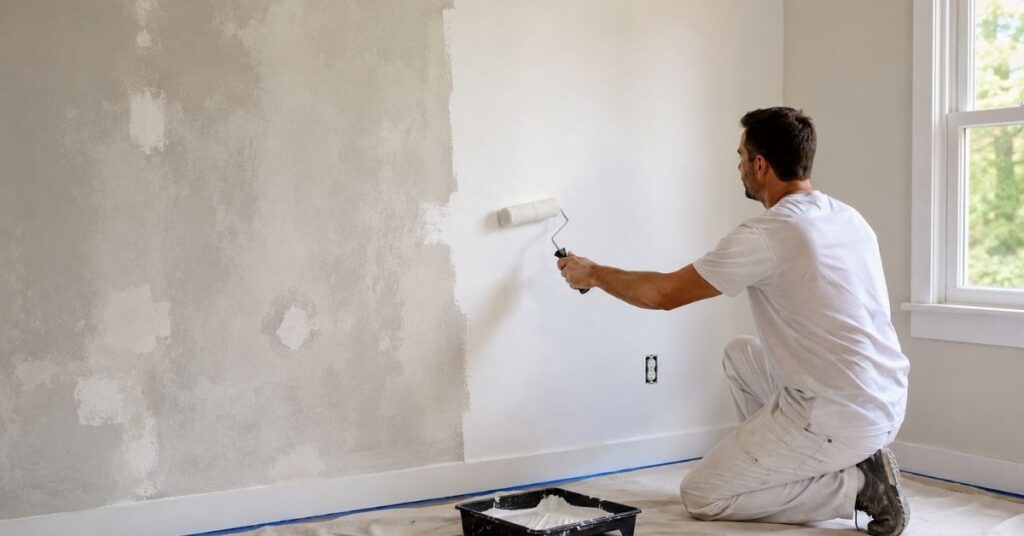
A freshly painted wall should look smooth and consistent, but sometimes the finished surface looks patchy, streaky, or noticeably uneven. You might see roller lines, brush marks, darker and lighter areas, dried drips, or sections that look shinier than the rest of the wall.
Before you grab another roller, take a closer look at the problem. Uneven paint is not always caused by poor coverage. A porous drywall repair, rough surface, incorrect roller, too much pressure, or paint that dried too quickly can all leave a wall looking uneven.
The good news is that most of these proHow to Fix Uneven Paint: Patchy, Streaky & Roller Marks
Knowing how to fix uneven paint starts with understanding why it happened patchy walls, roller marks, streaks, or drips all have different causes and different fixes. You might see roller lines, brush marks, darker and lighter areas, dried drips, or sections that look shinier than the rest of the wall.
Before you grab another roller, take a closer look at the problem. Uneven paint is not always caused by poor coverage. A porous drywall repair, rough surface, incorrect roller, too much pressure, or paint that dried too quickly can all leave a wall looking uneven.
The good news is that most of these problems are fixable.
How to Fix Uneven Paint: Quick Overview
In general, the process is simple: let the paint dry, identify the type of defect, smooth or repair the surface, prime areas that need it, and apply a fresh coat with consistent technique. Small defects can often be repaired locally, while widespread color or sheen differences usually look better when the entire wall is repainted.
Why Does My Paint Look Uneven?
There isn’t one single reason paint looks uneven. The appearance of the wall usually gives you a useful clue.
Common causes include:
- Uneven paint coverage
- Applying the paint too thinly
- Using an unsuitable roller nap
- Pressing too hard while rolling
- Overworking paint as it begins to dry
- Painting over porous drywall or joint compound
- Skipping primer on repaired areas
- Poor surface preparation
- Breaking the wet edge
- Painting when conditions cause the coating to dry too quickly
- Using mismatched touch-up paint
- Applying different amounts of paint across the wall
Here’s a quick way to narrow it down.
If you see light and dark patches, the problem may be coverage or differences in how the surface absorbs paint.
If you see raised lines, look for roller or brush marks.
If you see raised drops or ridges, you are probably dealing with drips or runs.
If the color looks right but some areas are shiny or dull, uneven sheen or paint flashing may be the issue.
And if a drywall repair is still visible after painting, the repaired area may have needed better sanding, sealing, or priming.
The important thing is not to assume that another coat will solve everything. If the surface underneath is uneven, more paint can simply cover the problem without actually fixing it.
How Do You Fix Uneven Paint?
Start by allowing the existing paint to dry completely. Once the surface is dry, inspect it under good lighting and work out what is causing the uneven appearance.
For most problems, the process looks like this:
- Let the existing paint dry completely.
- Inspect the wall from different angles.
- Identify the type of defect.
- Sand raised or rough areas.
- Repair dents, holes, or damaged sections.
- Prime bare or porous areas when necessary.
- Choose a roller or brush suitable for the surface.
- Apply the paint evenly.
- Maintain a wet edge while working.
- Allow the new coat to dry before deciding if another coat is needed.
One thing to avoid is repeatedly rolling or brushing an area that has already started to dry. It may seem like you’re improving the finish, but you can actually make the marks more noticeable.
How Do You Fix Patchy or Blotchy Paint?
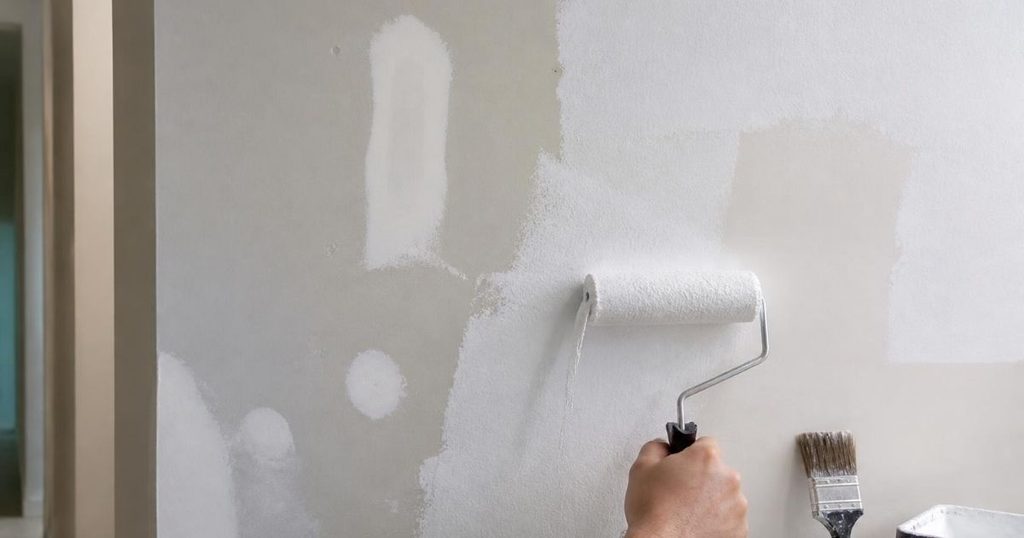
Patchy paint usually appears as lighter and darker areas after the wall has dried. Sometimes the paint simply hasn’t covered the previous surface evenly. In other cases, certain sections of the wall absorb the coating faster than others.
This is especially common around drywall repairs, filler, or areas that have been sanded. If the wall also has chipped or missing paint, see our guide on how to repair chipped paint before repainting.
1. Let the paint dry
Don’t judge the final finish while the paint is still wet.
Fresh paint can look uneven during the drying process, so give it the drying time recommended by the manufacturer before deciding that something went wrong.
2. Look for porous areas
Check the wall for:
- Bare drywall
- Joint compound
- Wall filler
- Sanded repairs
- Areas where old paint was removed
These surfaces can absorb paint differently from the surrounding wall.
3. Prime problem areas
If a repaired or bare section is noticeably more porous, apply an appropriate primer before repainting.
This helps create a more consistent surface and can reduce the difference between the repaired area and the rest of the wall.
4. Repaint the wall when patchiness is widespread
If the uneven color covers a large section, resist the temptation to keep adding paint only to the lighter or darker spots.
Instead, prepare the surface and apply a consistent coat across the wall. Repainting from corner to corner gives the finish a much better chance of looking uniform.
How Do You Fix Roller Marks?
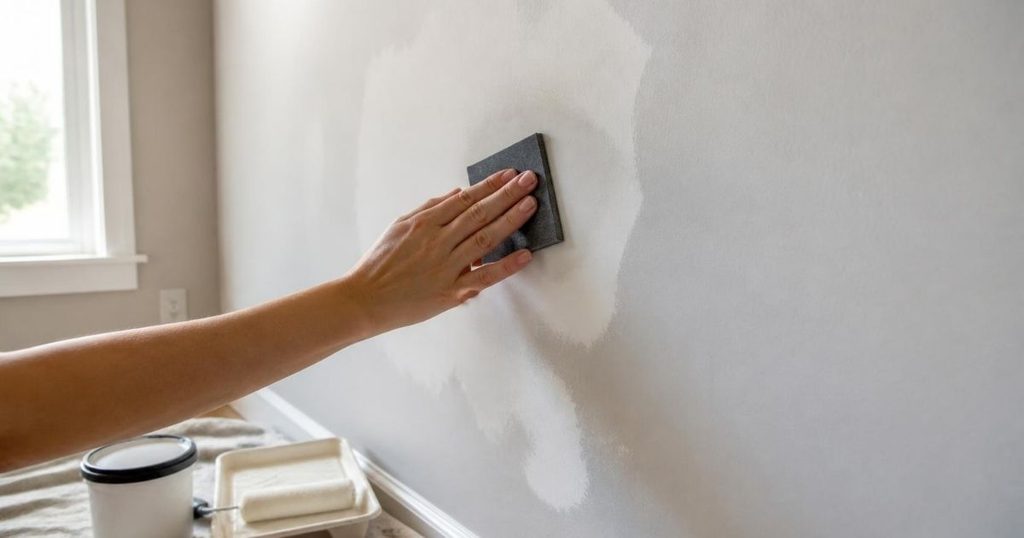
Roller marks can show up as visible lines, bands, ridges, or changes in texture. Sometimes they’re obvious as soon as the paint dries; other times they become noticeable only when light hits the wall from an angle.
Several things can cause them, including the wrong roller nap, uneven paint loading, too much pressure, insufficient paint on the roller, or working the paint after it has started to dry.
To fix dried roller marks, let the paint dry completely, lightly sand the affected areas, remove the dust, and apply a fresh coat using a suitable roller and consistent technique.
For additional guidance on avoiding common painting mistakes and getting a more consistent finish, see Sherwin-Williams’ painting tips.
Step-by-step
- Allow the paint to dry completely.
- Lightly sand raised or rough roller marks.
- Remove all sanding dust.
- Check that the roller is appropriate for the wall and paint.
- Load the roller evenly.
- Work in manageable sections.
- Keep a wet edge.
- Stop working an area once the paint begins to dry.
What causes roller marks?
The most common causes are:
- Wrong roller nap
- Too much pressure
- Too little paint on the roller
- Uneven roller loading
- Overworking the paint
- Rolling over partially dried paint
- Poor surface preparation
- Uneven paint thickness
A roller that is running too dry can encourage you to press harder. Instead of solving the problem, that can create inconsistent coverage and more visible roller texture.
How Do You Fix Paint Drips and Runs?
Dried drips and runs create raised spots or ridges on an otherwise flat wall. Unfortunately, another coat of paint won’t flatten a raised drip.
The drip needs to be smoothed before the area is repainted.
Here’s how:
- Let the paint dry and harden.
- Carefully remove excess paint if necessary.
- Sand the drip until it is level with the surrounding surface.
- Remove the sanding dust.
- Prime the area if sanding exposes the underlying surface.
- Apply a thin, even coat of paint.
For a large drip, take your time. You want the repaired area to transition smoothly into the surrounding wall rather than creating another visible bump.
How Do You Fix Brush Marks?
Brush marks are usually caused by overworking the paint, using an unsuitable brush, or continuing to brush an area after the paint has started to dry.
To fix dried brush marks, allow the paint to dry completely, lightly sand the visible ridges, remove the dust, and apply a fresh coat.
When repainting, choose a brush that is appropriate for the paint and surface.
Try to make your strokes deliberate rather than repeatedly brushing the same area. Once the coating begins to set, continued brushing can disturb the finish and leave visible strokes.
How Do You Fix Uneven Paint Sheen?
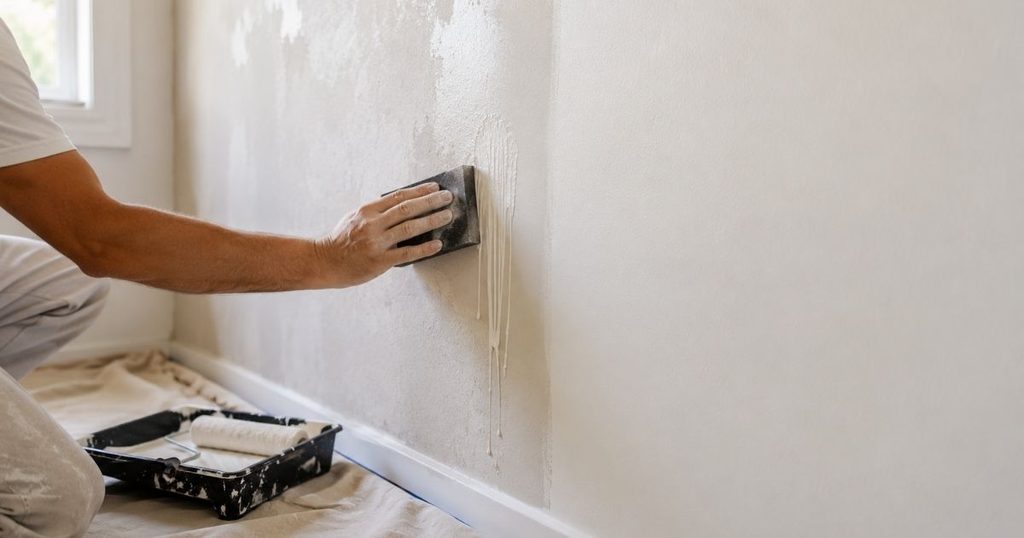
Sometimes the color itself isn’t the problem. The wall may be the correct color but still look uneven because some areas reflect light differently.
You may notice certain sections looking noticeably shinier or duller than the rest of the wall.
Possible causes include differences in:
- Surface absorption
- Paint thickness
- Surface texture
- Repairs
- Touch-ups
- Underlying coatings
One possible cause is paint flashing.
Flashing is particularly noticeable when repaired or differently prepared areas reflect light differently from the surrounding surface. It can become much more obvious when sunlight or artificial light hits the wall from an angle.
How to fix uneven sheen
- Identify repaired or differently prepared areas.
- Lightly sand rough spots if necessary.
- Remove all sanding dust.
- Prime porous or repaired areas when appropriate.
- Apply a consistent finish coat.
- Repaint the entire wall if the sheen difference is widespread.
Adding more paint to one shiny or dull spot does not always solve the problem. If the underlying surface has different porosity or texture, the area may continue to look different after the new paint dries.
How Do You Fix Lap Marks?
Lap marks appear as visible lines or differences in appearance where one painted section overlaps another.
They commonly occur when one section starts drying before the next section is blended into it.
The easiest way to prevent them is to keep a wet edge and work at a steady pace.
How to prevent lap marks
- Work in manageable sections.
- Keep a wet edge.
- Avoid stopping in the middle of a large wall whenever possible.
- Don’t repeatedly roll paint that has started to dry.
- Avoid conditions that make the coating dry unusually fast.
- Use natural stopping points such as corners, doors, or windows.
If existing lap marks are severe, allow the paint to dry completely and lightly sand the affected areas before applying another coat.
Should You Repaint the Whole Wall?
Sometimes a small repair is all that’s needed. Other times, trying to touch up individual areas can make the wall look even more uneven.
If the problem covers a large part of the wall, repainting the entire wall is usually the better option.
A touch-up can remain visible because the new paint may differ slightly in:
- Color
- Sheen
- Thickness
- Surface absorption
- Age of the surrounding paint
A simple rule is:
Small isolated defect → repair the spot.
Widespread unevenness → prepare and repaint the wall.
If budget is a factor, our money-saving renovation tips cover other ways to cut costs on projects like this one.
This matters even more when the problem is related to sheen. A touch-up can be a good color match and still look different when light hits the wall.
What Roller Nap Should You Use?
The right roller nap depends on the texture of the wall, the paint you’re using, and the manufacturer’s recommendations.
Shorter naps are commonly used on smooth surfaces, while textured walls generally require a longer nap to reach into the texture.
Before choosing a roller:
- Check the paint manufacturer’s instructions.
- Consider the wall texture.
- Match the roller to the coating.
- Use the recommended nap whenever possible.
- Don’t assume one roller works equally well on every surface.
An unsuitable roller can contribute to poor coverage, excessive texture, and an inconsistent finish.
How to Repaint a Wall for an Even Finish
If the wall needs more than a quick touch-up, preparation is where the quality of the final result is decided.
1. Inspect the wall
Use good lighting and look for:
- Roller marks
- Drips
- Ridges
- Cracks
- Dents
- Rough repairs
- Uneven texture
- Patchy coverage
- Shiny or dull areas
Walk around the room and view the wall from different angles. Some sheen problems are difficult to see when you’re looking straight at the surface.
2. Repair imperfections
Fill holes, dents, and damaged areas with an appropriate wall-repair product.
Don’t expect a new coat of paint to hide a raised ridge or a poorly finished repair.
For more extensive peeling, cracking, or damaged areas, start with proper wall-paint repair before moving on to the final coat.
3. Sand the surface
Smooth repaired areas and feather their edges into the surrounding wall.
For dried paint defects, use light sanding and remove only the material needed to create a level surface.
4. Remove dust
Sanding dust can interfere with primer and paint.
Clean the surface thoroughly before moving on.
5. Prime when needed
Prime bare, repaired, or unusually porous areas according to the primer manufacturer’s instructions.
This step is especially useful when a repaired section absorbs paint differently from the surrounding wall.
6. Prepare the paint
Mix or stir the paint according to the manufacturer’s directions.
When repainting the wall, using the same paint and finish throughout the surface helps maintain consistency. If you’re repainting the whole wall anyway, it’s a good moment to reconsider your color — browse living room color ideas for inspiration before you commit.
7. Start at a natural edge
Begin at a corner, trim edge, doorway, or another logical stopping point.
These natural boundaries make it easier to maintain a consistent finish.
8. Maintain a wet edge
Work into the adjacent section while the previous section is still wet enough to blend.
This helps reduce visible overlap and lap marks.
9. Keep your technique consistent
Try to maintain similar:
- Roller pressure
- Paint loading
- Application direction
- Working speed
- Section size
Avoid repeatedly going back over areas that have started to dry.
10. Let the coat dry
Follow the manufacturer’s recommended drying and recoating time before deciding whether another coat is necessary.
Give the paint enough time to dry before judging the final result.
How to Prevent Uneven Paint
A little preparation can prevent many of the problems that lead to an uneven finish.
Before painting
- Clean the wall.
- Remove loose or failing paint.
- Fill holes and imperfections.
- Sand rough areas.
- Prime bare or porous repairs.
- Choose paint appropriate for the surface.
- Use a suitable roller and brush.
While painting
- Keep the roller evenly loaded.
- Don’t press too hard.
- Don’t let the roller become excessively dry.
- Work in manageable sections.
- Maintain a wet edge.
- Avoid repeatedly working paint that has started to dry.
- Keep your application technique consistent.
Pay attention to the environment
Very hot, dry, or windy conditions can cause paint to dry faster than expected. A hot substrate in particular can cause paint to dry before it has time to level out, which is a leading cause of flashing and visible lap marks — see Behr’s guide on when to use primer for more on how surface temperature affects the finish.
Follow the manufacturer’s recommended application conditions for the specific product. When paint dries too quickly, maintaining a wet edge becomes more difficult and lap marks can be more noticeable. This is especially important for exterior walls — see our guide on when not to paint outside if conditions are questionable.
Common Mistakes That Make Paint Look Uneven
Painting over unprimed repairs
Drywall compound and other repaired areas can absorb paint differently from the surrounding wall. Without proper preparation, the repair may remain visible through the finish coat.
Using the wrong roller
An unsuitable roller nap can create excessive texture or make consistent coverage more difficult.
Applying paint too thinly
Insufficient coverage can leave the previous color or underlying surface visible.
Overworking the paint
Repeated brushing or rolling can disturb the finish once the coating begins to dry.
Stopping in the middle of a wall
Stopping for too long can make it difficult to maintain a wet edge when you continue.
Spot painting a large problem
Touching up individual areas across a large section can create noticeable differences in color or sheen.
Ignoring surface preparation
Paint can improve the appearance of a wall, but it cannot completely hide major ridges, rough repairs, dents, or uneven texture.
If the existing coating is peeling or lifting rather than simply looking uneven, fix peeling paint before applying another coat.
Quick Diagnosis: What Is Wrong With Your Paint?
If you’re not sure what you’re looking at, start with the appearance of the defect.
Light and dark patches? Check coverage and surface porosity. Prime problem areas when necessary, then apply a uniform coat.
Raised lines? You may be dealing with roller or brush marks. Let the paint dry, lightly sand the raised areas, and repaint.
Raised drops or ridges? These are likely drips or runs. Smooth them before repainting.
Shiny and dull areas? Check for uneven sheen or paint flashing. Surface preparation and priming may be necessary.
Visible drywall repairs? Sand the repair smooth and prime it before applying the finish coat.
Lines where two sections meet? These may be lap marks. Repaint while maintaining a wet edge.
The wall looks uneven only from certain angles? Check for differences in sheen or surface texture rather than assuming the color is wrong.
The old color is still visible? Check coverage, paint thickness, and the manufacturer’s recommendations for additional coats.
Frequently Asked Questions
Why does my paint look patchy after drying?
Patchy paint can be caused by uneven coverage, differences in surface porosity, insufficient coverage, or inconsistent application. Let the paint dry completely, identify the cause, and apply another uniform coat if necessary.
Can you fix uneven paint without repainting the whole wall?
Yes, if the problem is small and isolated. A drip, small ridge, or localized mark can often be repaired without repainting the entire wall. Widespread differences in color or sheen are usually easier to correct by repainting the wall.
Can you paint over uneven paint?
Yes, but prepare the surface first. Sand raised drips, ridges, and rough areas rather than simply covering them with another coat. Repair and prime problem areas when necessary.
Should you sand uneven paint before repainting?
Light sanding can help smooth dried drips, ridges, roller marks, and rough areas. Remove all sanding dust before applying primer or paint.
Why does my paint have shiny and dull spots?
Shiny and dull areas can be caused by differences in surface porosity, paint thickness, repairs, touch-ups, texture, or sheen. Depending on the cause, you may need to sand, prime, and apply a consistent finish coat.
How do you fix roller marks in dried paint?
Let the paint dry completely, lightly sand the visible marks, remove the dust, and apply a fresh coat using a suitable roller and consistent technique.
How many coats are needed to fix uneven paint?
It depends on the existing surface, the color underneath, surface absorption, and the coverage of the new paint. Follow the manufacturer’s recommended coverage and recoating instructions rather than relying on a fixed number of coats.
How long should you wait before fixing uneven paint?
Wait until the existing coat has dried according to the paint manufacturer’s instructions. Trying to correct or repeatedly roll paint too early can make the finish worse.
Why does paint look uneven even after a second coat?
If unevenness remains after another coat, the problem may not be simple coverage. Check for porous repairs, surface texture, flashing, roller marks, or differences in sheen. Adding more paint will not necessarily correct an underlying surface problem.
Can touch-up paint make a wall look more uneven?
Yes. Even when the touch-up paint is the same color, differences in sheen, thickness, age, or surface absorption can make the repaired area visible. If touch-ups cover a large portion of the wall, repainting the wall can provide a more consistent finish.
Final Takeaway
The best way to fix uneven paint is to diagnose the problem before reaching for another coat.
Patchy paint may need better coverage or primer on porous repairs. Roller and brush marks usually need the surface smoothed before applying fresh paint. Dried drips need to be leveled first, while shiny and dull areas may require attention to surface preparation, absorption, texture, or sheen.
If the problem is small, repair the affected area. If uneven color or sheen covers most of the wall, preparing and repainting the entire wall will usually give you a more consistent result. A smooth, even finish isn’t just cosmetic — it’s one of the cheapest ways to increase your home’s value before a sale or appraisal.
For drying times, recoating intervals, roller recommendations, coverage, and application conditions, always follow the instructions provided by the paint manufacturer

I started Domelite Home because I got tired of home improvement advice that was either too vague or written by people who had never actually picked up a drill. I’m Naik Zali Shah I’ve spent years obsessing over renovation projects, smart home setups, and interior design, and I built this site to share what actually works. No fluff, no filler. Just honest advice for homeowners who want to get things right the first time.