
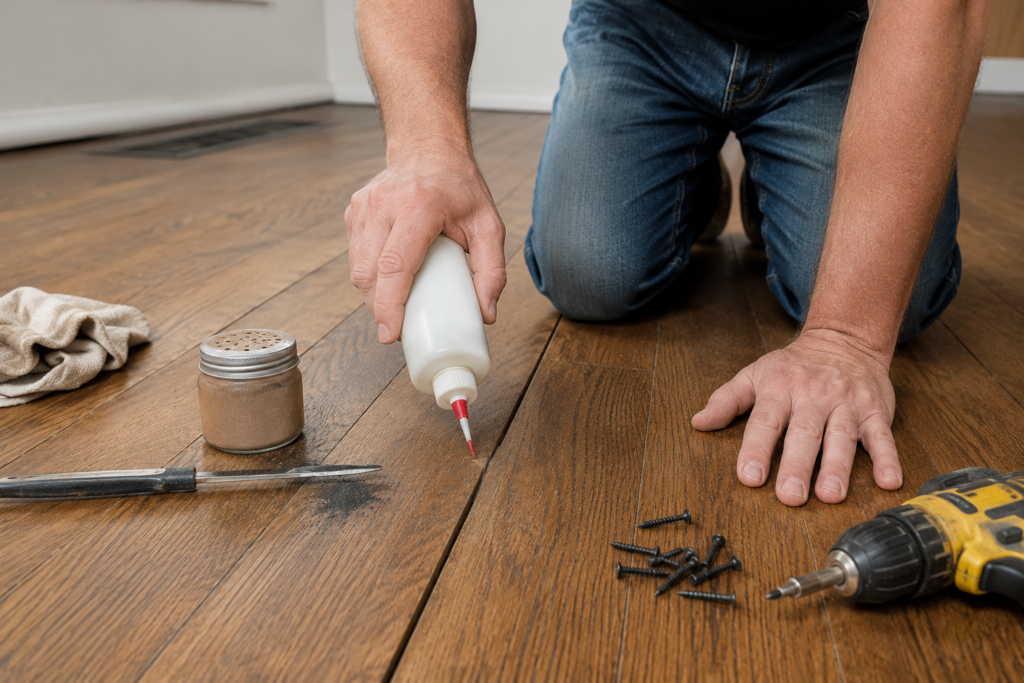
Quick Answer: To fix squeaky hardwood floors, start by identifying whether the squeak comes from boards rubbing together, loose nails, or a gap between the subfloor and joists. From above, powdered graphite or talcum powder silences friction-based squeaks in minutes. For loose boards, screws driven at an angle into the joist are the most permanent fix. Most repairs cost under $30 in materials and take less than an hour.
It is 2 am. You are trying to sneak to the kitchen without waking anyone up. You know exactly which board to step over, which corner of the hallway creaks the loudest, and which path through the living room is completely silent. You have essentially memorized a map of your squeaky hardwood floors.
That ends today. Knowing how to fix squeaky hardwood floors is simpler than most homeowners expect, and in most cases, you can solve it permanently in under an hour with tools you already own.
Squeaky hardwood floors are one of the most common complaints among US homeowners, and they are also one of the most fixable. In most cases, you do not need a contractor, you do not need to pull up your floor, and you definitely do not need to live with it. What you need is to understand what is actually causing the noise, because the right fix depends entirely on that. Apply the wrong solution, and you will be back on your squeak map within six months.
This guide walks you through every cause, every fix from above and from below, and exactly when a squeak is telling you something more serious is going on underneath.
Why Hardwood Floors Squeak: Diagnose Before You Fix
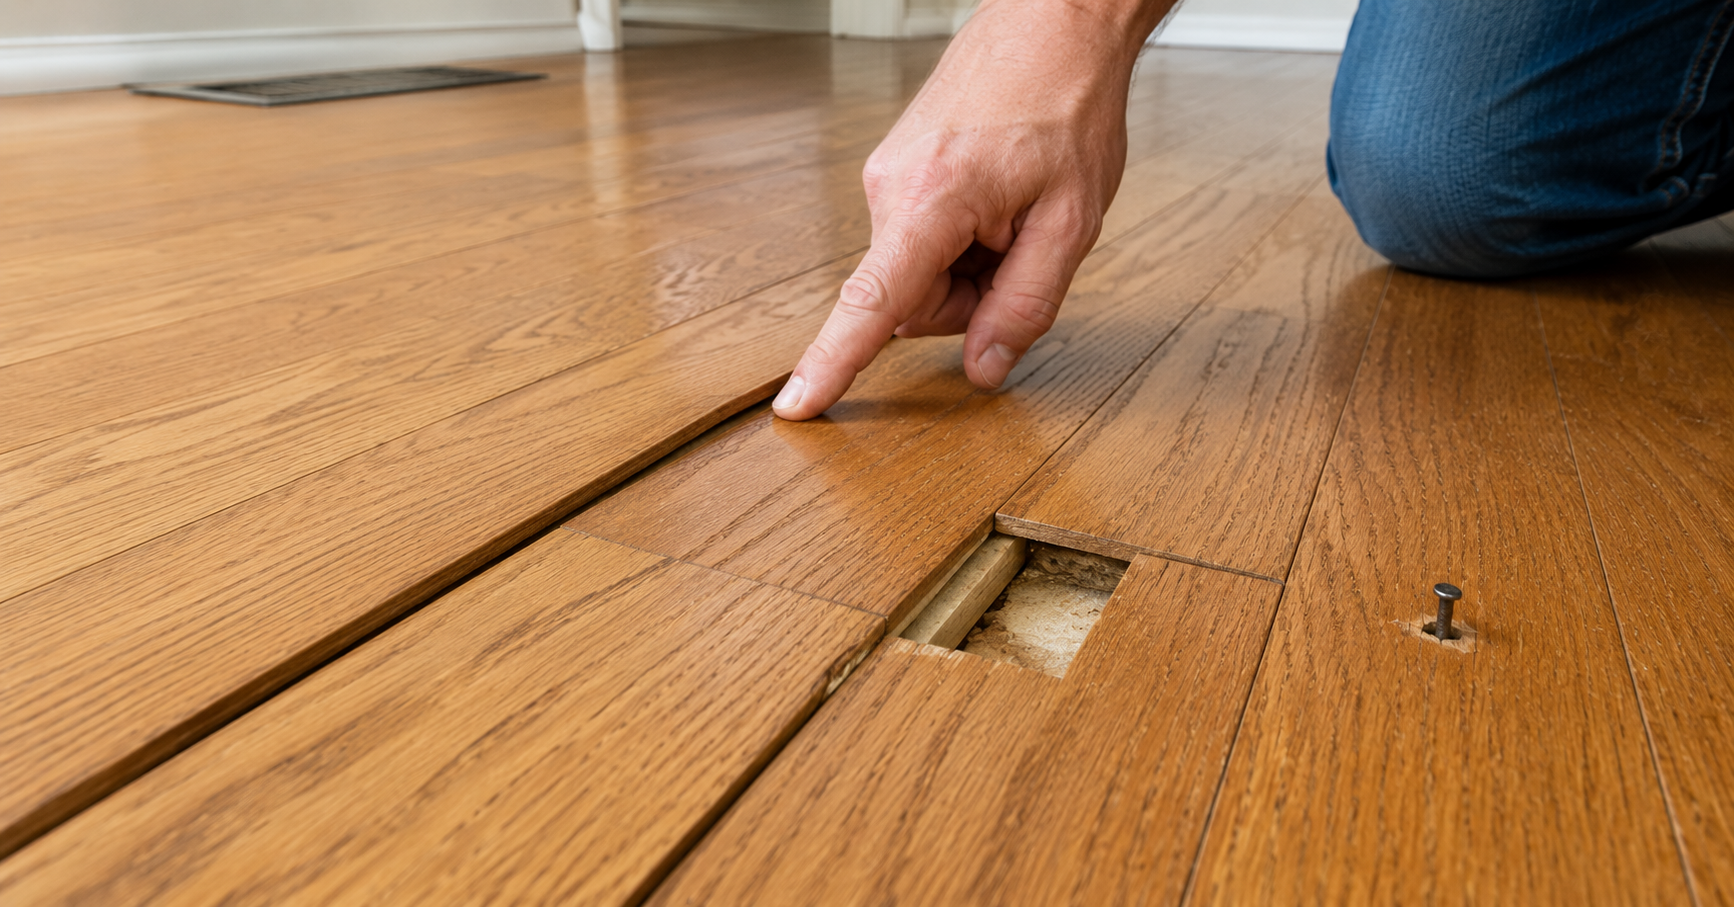
The single biggest mistake homeowners make is jumping straight to a fix without figuring out what is actually causing the squeak. There are three completely different causes, and each one needs a different solution.
Board-to-Board Friction
This is the most common cause of squeaky hardwood floors in US homes. Two adjacent floorboards rub together as they shift slightly under foot traffic. It happens most often when the wood has dried out and contracted, creating small gaps between boards that allow lateral movement. In winter, when indoor humidity drops due to forced-air heating, this type of squeak gets significantly worse because dry wood shrinks and gaps widen.
How to identify it: The squeak is high-pitched and occurs consistently on the same spot. Press down on the board with your foot and slide it slightly sideways while pressing. If the squeak changes or stops, board-to-board friction is the cause.
Board-to-Subfloor Gap
This happens when a floorboard has pulled away from the subfloor below it, creating a gap that allows the board to flex down when stepped on and spring back up when the weight is removed. The squeak occurs on the downstroke and sometimes the upstroke. This is extremely common in homes built after the 1980s, where plywood or OSB subfloor panels are used, because these panels can pull loose from joists over time.
How to identify it: The squeak is lower-pitched and happens as you step onto the board rather than when your weight shifts. You may feel a very slight flex or bounce in the floor at that spot.
Loose or Rising Nails
In older nail-down hardwood floors, nails can slowly work their way upward over years of seasonal wood movement. When you step on the board, it presses down against the raised nail shank, which creates a friction squeak that is sharp and sometimes metallic-sounding. This is particularly common in homes built before 1980.
How to identify it: The squeak is sharper and more metallic than a wood-rubbing squeak. You may be able to see a very slight nail head near the squeaky spot if you look closely.
Fix 1: Powdered Graphite or Talcum Powder (Fastest Fix, Under $5)
This is your first stop for any board-to-board friction squeak and the quickest fix available. Powdered graphite or talcum powder acts as a dry lubricant between boards, eliminating the friction that causes the squeak without touching any fasteners or structure.
What you need: Powdered graphite ($3 to $5 at any hardware store) or talcum powder from your medicine cabinet.
How to do it:
- Sprinkle the powder generously along the joints between the squeaky boards
- Use a soft cloth or old paintbrush to work the powder into the cracks
- Walk over the area repeatedly to drive the lubricant deeper into the joint
- Vacuum up any excess powder from the floor surface
- Repeat if the squeak returns within a few weeks
How long it lasts: This is a temporary to semi-permanent fix. In boards with minor gaps, it can last years. In boards with significant gaps or heavy seasonal movement, it may need reapplication every few months. If you are reapplying more than twice a year, move to Fix 3 or Fix 4 for a permanent solution.
Important: Use only dry lubricants. Never use oil-based products, WD-40, or furniture polish between floorboards. Oil-based products attract dust, create a residue that is difficult to remove, and can damage the floor finish over time.
Fix 2: Construction Adhesive for Gaps (Permanent Fix From Above)
When a board has a visible gap along its edge and is rubbing against the adjacent board, thin-viscosity construction adhesive injected into the joint bonds the boards together and permanently eliminates the movement that causes the squeak.
What you need: Thin wood glue or construction adhesive in a squeeze bottle, painter’s tape, and a weight or heavy books.
How to do it:
- Clean the joint thoroughly with a vacuum crevice tool to remove dust and debris
- Inject a thin bead of wood glue into the joint using the bottle tip
- Use a putty knife to work the glue down into the crack
- Place painter’s tape along both sides of the joint to catch any squeeze-out
- Lay a piece of scrap wood over the joint and place heavy weights on top
- Allow the glue to cure fully, at least 24 hours, before walking on the area
- Peel the tape and clean any excess glue with a damp cloth before it fully hardens
This fix works best when boards have visible gaps but are still otherwise sound and flat. It does not work well on boards that flex significantly underfoot, since movement will break the glue bond over time.
Fix 3: Screws From Above (Most Permanent Fix for Loose Boards)
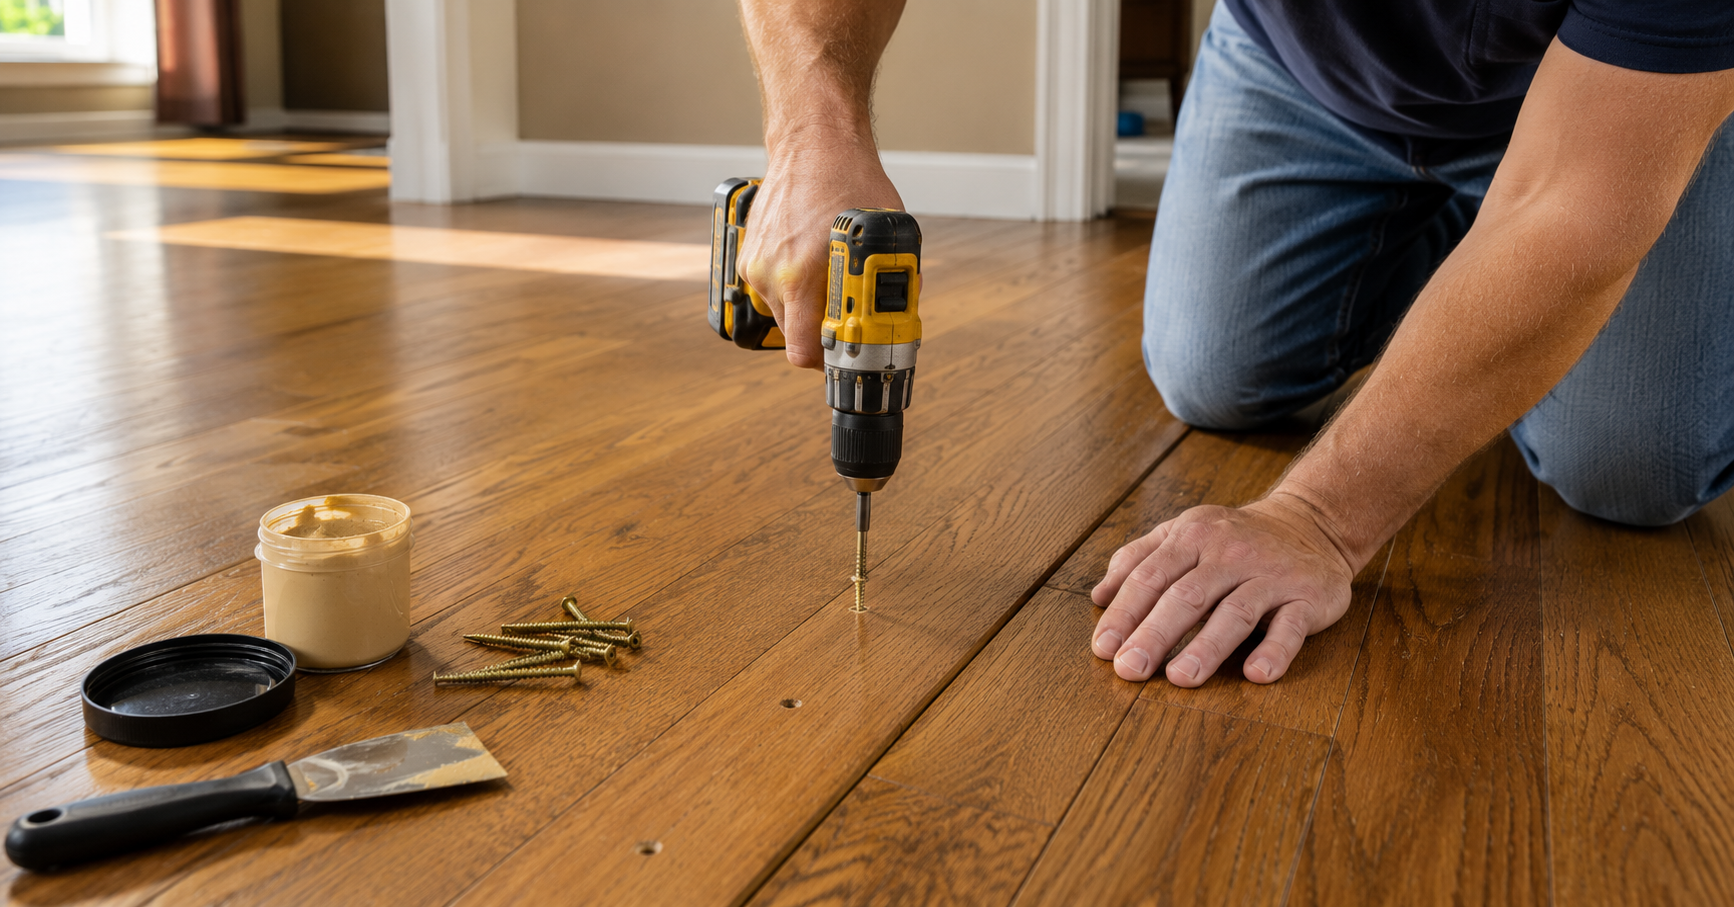
For a board that has pulled away from the subfloor, driving a screw down through the hardwood and into the subfloor or joist pulls the board tight and eliminates the gap that causes the squeak. Done correctly, this is the most permanent fix available from above the floor.
What you need: Counter-Snap Kit ($15 to $20 at hardware stores or online), drill, drill bit matching the kit’s pilot size.
The Counter-Snap Kit is specifically designed for this repair. It includes breakaway screws that snap off below the surface of the hardwood after driving, leaving a tiny hole that is easily filled with matching wood putty. This eliminates any visible screw head on your floor surface. The Counter-Snap Kit is a great way to fix squeaks in hardwood floors without damaging the surface. Locate the source of the squeak, drill a 3/32-inch pilot hole through the hardwood flooring, then drive the breakaway screw, which snaps cleanly below the surface.
How to do it:
- Locate the floor joist nearest to the squeak using a stud finder
- Mark the joist location on the floor with masking tape
- Drill a pilot hole through the hardwood at the marked location
- Drive the breakaway screw using the kit’s depth control guide
- Snap the screw shank off at the surface
- Fill the small hole with matching hardwood floor putty
- Allow to dry and buff smooth
Joist spacing tip: In most US homes built after 1960, floor joists are spaced 16 inches on center. In older homes, they may be 12 or 24 inches. If your first screw location does not silence the squeak, the board may be sitting between joists. Move the screw 4 inches in either direction along the board to find solid framing.
Fix 4: Screws or Shims From Below (Best Fix When You Have Basement Access)
If you have access to the underside of the squeaky floor through a basement or crawl space, fixing from below is the cleanest and most effective approach because you can see exactly what is happening structurally and address it directly.
Shims for Subfloor Gaps
When the gap is between the subfloor and the floor joist, a wood shim coated in construction adhesive fills the gap and stops the movement permanently.
How to do it:
- Have someone walk slowly on the floor above while you watch from below to pinpoint the exact location
- Mark the squeaky spot with chalk on the subfloor underside
- Apply a thin coat of construction adhesive to a wood shim
- Slide the shim gently into the gap between the subfloor and joist
- Tap it lightly with a hammer until it seats snugly, but do not force it
- Forcing the shim too hard can actually lift the floor above and create a high spot that is visible from the top
Screws From Below for Loose Subfloor
If the subfloor panel is pulling away from the joist rather than just gapping, short screws driven through the subfloor and into the joist pull them back together.
How to do it:
- Measure the combined thickness of your subfloor and hardwood from below
- Choose screws that are about one quarter inch shorter than that combined measurement
- Drive screws at a slight angle into the joist every 6 to 8 inches along the squeaky area
- Driving the screw straight up risks going through the hardwood surface, so always angle slightly
Fix 5: The Squeak-Ender Hardware Solution
The Squeak-Ender is a specialized hardware bracket designed specifically for pulling the subfloor tight to the joist from below without requiring access to the top of the floor at all.
How it works: A mounting plate screws to the underside of the subfloor. A threaded rod drops down from it. A bracket hooks onto the joist. Tightening the nut on the rod draws the subfloor down tight against the joist and eliminates the gap. It is a clean, permanent solution that costs about $12 to $18 per unit.
This is the fix of choice for squeaks that are directly above a joist gap and where working from above would require driving screws through a finished floor surface that you want to preserve perfectly.
Fix 6: Humidity Control to Stop Seasonal Squeaks
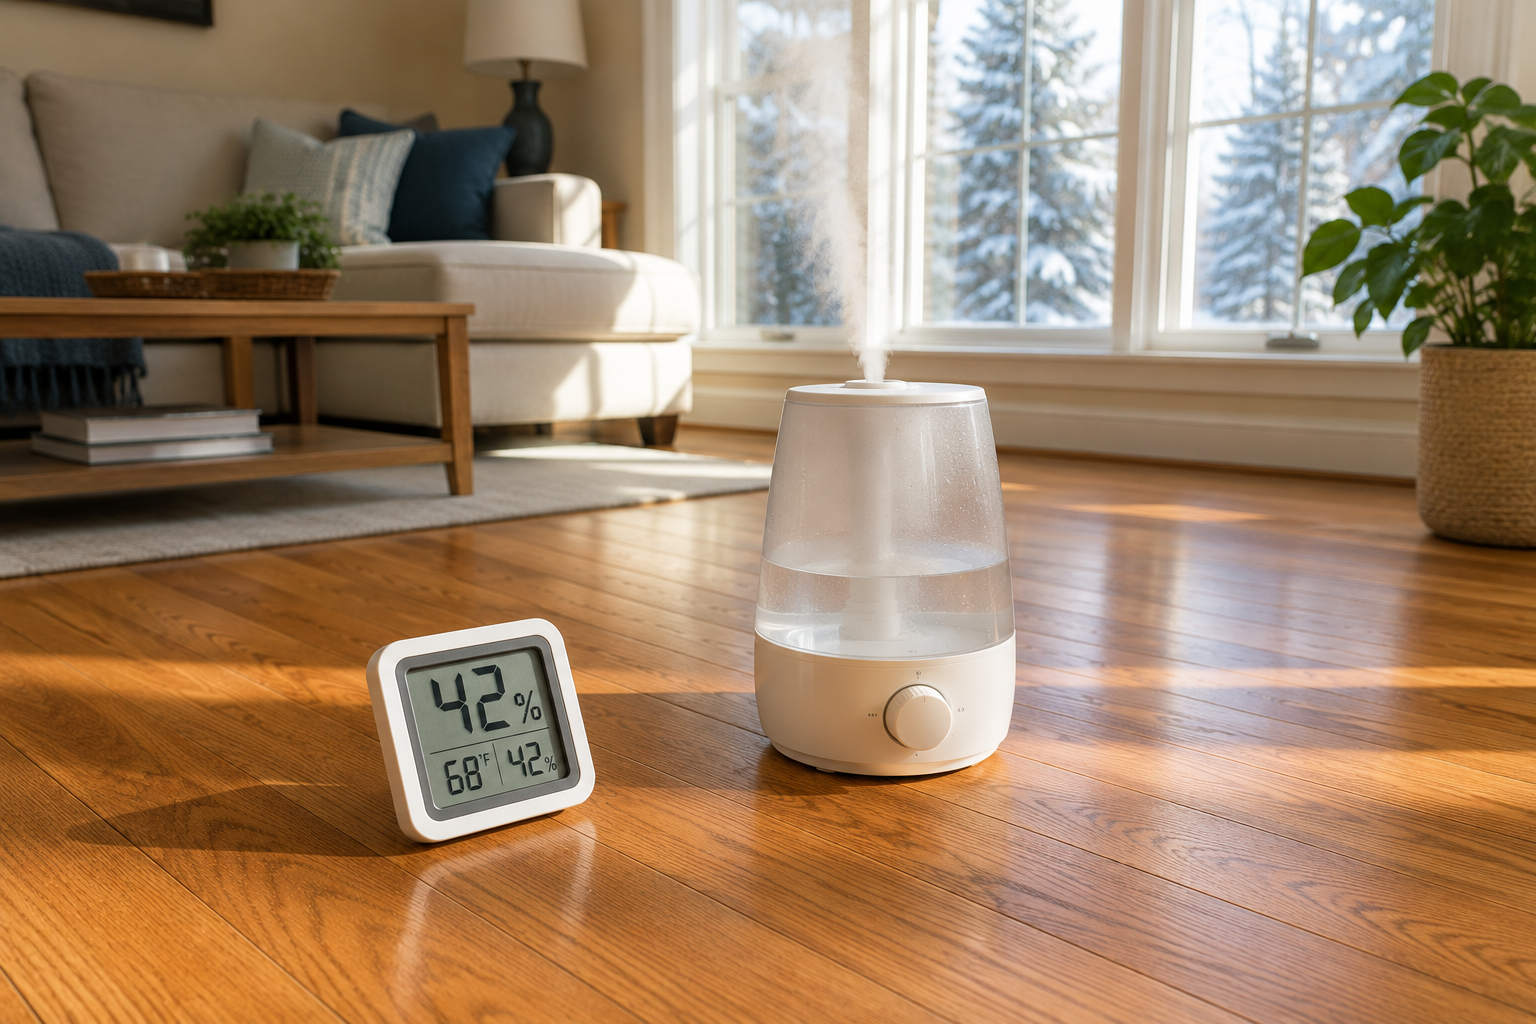
If your hardwood floors squeak primarily in winter and improve in summer, the cause is almost certainly seasonal wood movement rather than a structural problem. When indoor heating systems run in winter, indoor humidity drops dramatically. Hardwood absorbs and releases moisture based on the surrounding humidity. Dry air causes boards to shrink and contract, opening the gaps between them that allow movement and friction.
Maintaining indoor humidity between 35 and 55 percent year-round keeps hardwood floors dimensionally stable and dramatically reduces seasonal squeaking.
Stable humidity reduces movement between boards and prevents future noise. The EPA recommends this range for both flooring health and overall indoor air quality.
For more guidance on maintaining healthy indoor conditions, visit the EPA’s indoor air quality resources.
Practical steps:
- Run a whole-house humidifier during heating season, targeting 40 to 45 percent relative humidity
- A portable humidifier in rooms with the worst seasonal squeaking is a cheaper starting point
- In summer, air conditioning naturally dehumidifies and usually keeps humidity in the acceptable range
- A basic hygrometer costs $10 to $15 and tells you exactly where your humidity stands
This fix costs almost nothing to implement and is the only approach that addresses the root cause of seasonal squeaks rather than just patching the symptom.
Fix 7: Talcum Powder Under Carpet for Hidden Squeaks
If your hardwood floor has carpet over it and you can hear squeaking beneath the carpet, you have two options, depending on how bad the squeak is.
For minor squeaks, the Squeeeeek-No-More Kit allows you to drive special breakaway screws through the carpet and subfloor into the joist without pulling up the carpet at all. The screw breaks off below the carpet surface, and the carpet fibers close back over it with no visible trace.
For more significant squeaks, pull back a corner or edge of the carpet to expose the subfloor and use the screw or shim methods described above, then lay the carpet back down and tuck the edge back under the baseboard.
Fix 8: Wood Filler for Minor Surface Squeaks
When squeaks are caused by very minor board-to-board movement and the gaps are visible but tiny, liquid wood filler injected along the joint fills the space and reduces movement enough to silence the squeak.
This is a less permanent solution than screws or shims,s but is useful for floors where driving fasteners is not practical, such as floors with radiant heating beneath them, where you must not drive screws without knowing exactly where the heating lines run.
How to do it:
- Clean the joint with a vacuum crevice tool
- Apply liquid wood filler along the joint using a squeeze bottle
- Work it into the crack with a putty knife
- Allow to cure fully before walking on the area
- Buff away any raised filler once dry
How to Fix Squeaky Hardwood Floors: When the Squeak Is Serious
Most squeaky hardwood floors are purely a friction or fastener issue with no structural significance at all. But in some cases, a squeak is a symptom of something that needs professional attention.
Take the squeak seriously if:
- The floor feels bouncy or springy underfoot in the squeaky area, which may indicate a joist that has cracked or failed
- You can see the floor visibly flexing when you step on it
- Multiple boards in the same area have started squeaking at the same time after years of silence
- You notice water staining, soft spots, or a musty smell near the squeaky area, which can indicate subfloor rot from water damage.
- The squeak is accompanied by a visible change in floor level, with one board sitting higher or lower than adjacent boards.
In these situations, the squeak is not the real problem. It is the symptom of a structural issue that needs a licensed contractor or structural engineer to assess.
For homeowners planning a broader renovation alongside floor repairs, understanding the most costly renovation mistakes before starting is valuable. This guide on kitchen remodeling mistakes covers the planning errors that turn manageable DIY projects into expensive professional rescues, many of which apply equally to floor repair projects.
Real Costs: DIY vs. Professional Repair
| Repair Method | DIY Material Cost | Professional Cost |
| Powdered graphite lubricant | $3 to $5 | Not typically needed |
| Counter-Snap kit (screws from above) | $15 to $20 | $150 to $300 per room |
| Squeak-Ender hardware | $12 to $18 per unit | $150 to $300 per room |
| Shims from below | $5 to $15 | $200 to $400 per room |
| Humidity control (humidifier) | $30 to $150 | Not applicable |
| Full professional floor repair | Not applicable | $200 to $1,000 per room |
The vast majority of squeaky hardwood floor repairs fall into the $5 to $30 range in DIY materials and take under an hour. Professional repairs are typically only necessary when structural issues are present or when the floor type makes DIY access impractical.
For more ways to tackle home improvement projects at a fraction of contractor cost, the guide on home renovation tips and money-saving tricks covers proven strategies for getting professional results without professional labor costs across a range of common projects.
Preventing Squeaks From Coming Back
Once you have fixed your squeaky hardwood floors, keeping them quiet long-term comes down to three things.
Maintain consistent humidity. The number one cause of recurring squeaks is seasonal wood movement from humidity swings. Keep indoor humidity between 35 and 55 percent year-roun,d and most board-to-board squeaks stay gone permanently.
Fix small issues before they become big ones. A single loose board that squeaks is easy to fix with one screw. Ten loose boards that squeak because the first one was ignored for two years is a much larger project. Walk your floors once or twice a year and address any new squeaks while they are still single-board problems.
Check transitions and thresholds. The squeaky spots near doorways and room transitions are often caused by the transition strip or threshold itself working loose, rather than the floor planks. Press down on transition strips and check whether they flex or rock. A loose transition strip fixed with two screws often silences a squeak that looked like a floor problem.
If your floor repairs are making you think about broader flooring upgrades, this guide on stunning checkerboard floor ideas covers design options that work beautifully in both traditional and modern US homes and can give problem areas a complete transformation rather than just a repair.
Frequently Asked Questions
Q: Why do hardwood floors squeak more in winter?
A: Winter squeaks are almost always caused by dry indoor air from heating systems,s reducing indoor humidity. When humidity drops below 35 percent, hardwood boards shrink and contract, opening gaps that allow movement and friction. Running a humidifier to maintain 40 to 45 percent humidity during heating season typically reduces or eliminates winter-specific squeaking without any structural repairs needed.
Q: Is it safe to drive screws through hardwood floors?
A: Yes, when done correctly. The key is using the right length screw so it does not go through the hardwood surface and emerge from the top. Use a Counter-Snap Kit for surface repairs since it includes a depth control guide and breakaway screw that snaps off below the surface, leaving only a small hole that fills with matching putty. Always drill a pilot hole first to prevent splitting the wood.
Q: Can squeaky floors indicate a structural problem?
A: Most squeaks are purely cosmetic friction issues with no structural significance. However, if your floor feels bouncy or springy, if you see visible flexing when you step on a board, if multiple boards in the same area all started squeaking at once, or if there is any evidence of water damage or soft spots near the squeaky area, have a contractor assess the subfloor and joists before attempting DIY repairs.
Q: How long does the powder lubricant fix last?
A: Powdered graphite or talcum powder typically lasts several months to a year, depending on foot traffic and the size of the gaps between boards. It is a maintenance fix rather than a permanent solution. If you are reapplying more than twice a year on the same spot, move to a screw or shim fix to address the underlying movement permanently.
Q: What is the best fix for squeaky floors when I cannot access from below?
A: The Counter-Snap Kit is the best option when you can only work from above and want a clean, invisible result. It drives a breakaway screw through the hardwood into the subfloor or joist and snaps off below the surface, with the small hole filled with matching wood putty. For more information on professional-grade floor repair techniques, This Old House’s comprehensive floor repair guide covers the full range of above-floor and below-floor methods in detail at thisoldhouse.com.
Dealing with a squeak that does not match any of the descriptions above? Drop the location of the squeak in your home, what type of floor you have, and whether you have basement access in the comments, and we will help you find the right fix.

Samreen Khadim Hussain is a home improvement writer and content creator at Domelite Home. She specializes in making home renovation, interior design, and bathroom safety accessible to everyday US homeowners, turning technical subjects into clear, actionable advice. Her work is rooted in research, real-world practicality, and a genuine belief that a better home is within everyone’s reach.
2 thoughts on “How to Fix Squeaky Hardwood Floors: 8 Proven Fixes”