
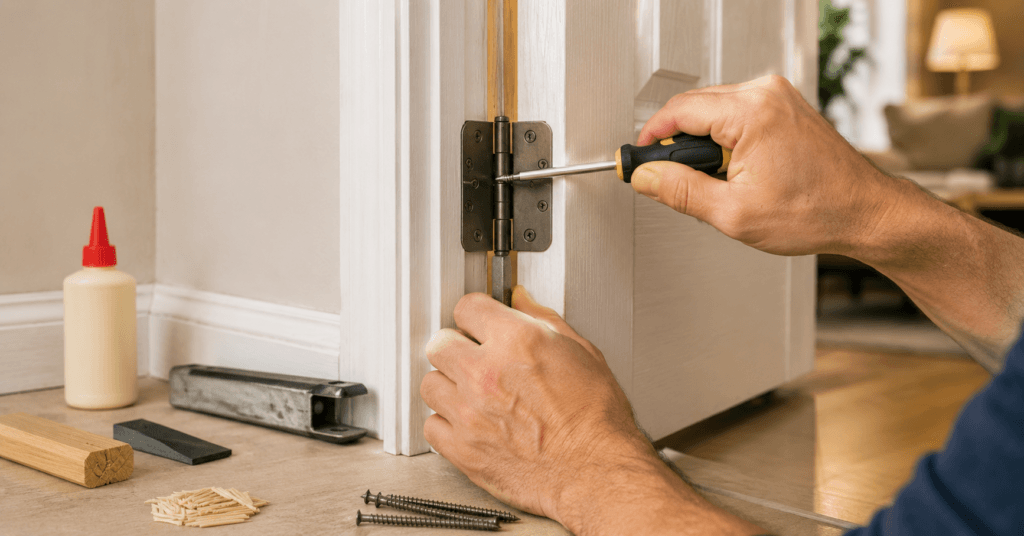
Quick Answer: How to fix a sagging door depends on the cause. Tighten loose hinge screws first using a manual screwdriver. If screws spin without gripping, fill the stripped holes with toothpicks and wood glue. If tightening does not help, replace the center hinge screw with a 3-inch screw reaching into the wall stud. Most sagging doors are fixed in under 30 minutes for under $10. Only call a professional when multiple doors and windows are sticking simultaneously, which signals a structural issue rather than a hinge problem.
Fixing a sagging door is one of those repairs that sounds complicated but is almost always a screwdriver job. The door drags on the floor, scrapes the frame, or will not latch properly, and the cause in the vast majority of US homes comes down to one thing: a loose or unsupported hinge.
What most guides skip is this: there are actually six different causes of a sagging door, and each needs a different fix. Tightening screws on a door that is sagging because of wood swelling does nothing. Planing a door that is sagging because of loose hinge screws removes wood that does not need to be removed. Getting the diagnosis right before picking up a tool is the step that determines whether the repair lasts or fails within weeks.
This guide covers every cause, every fix in the right order, and the one diagnostic check that tells you whether the sagging door in front of you is a ten-minute repair or a signal of something structural happening behind the wall.
How to Fix a Sagging Door: Diagnose the Cause First
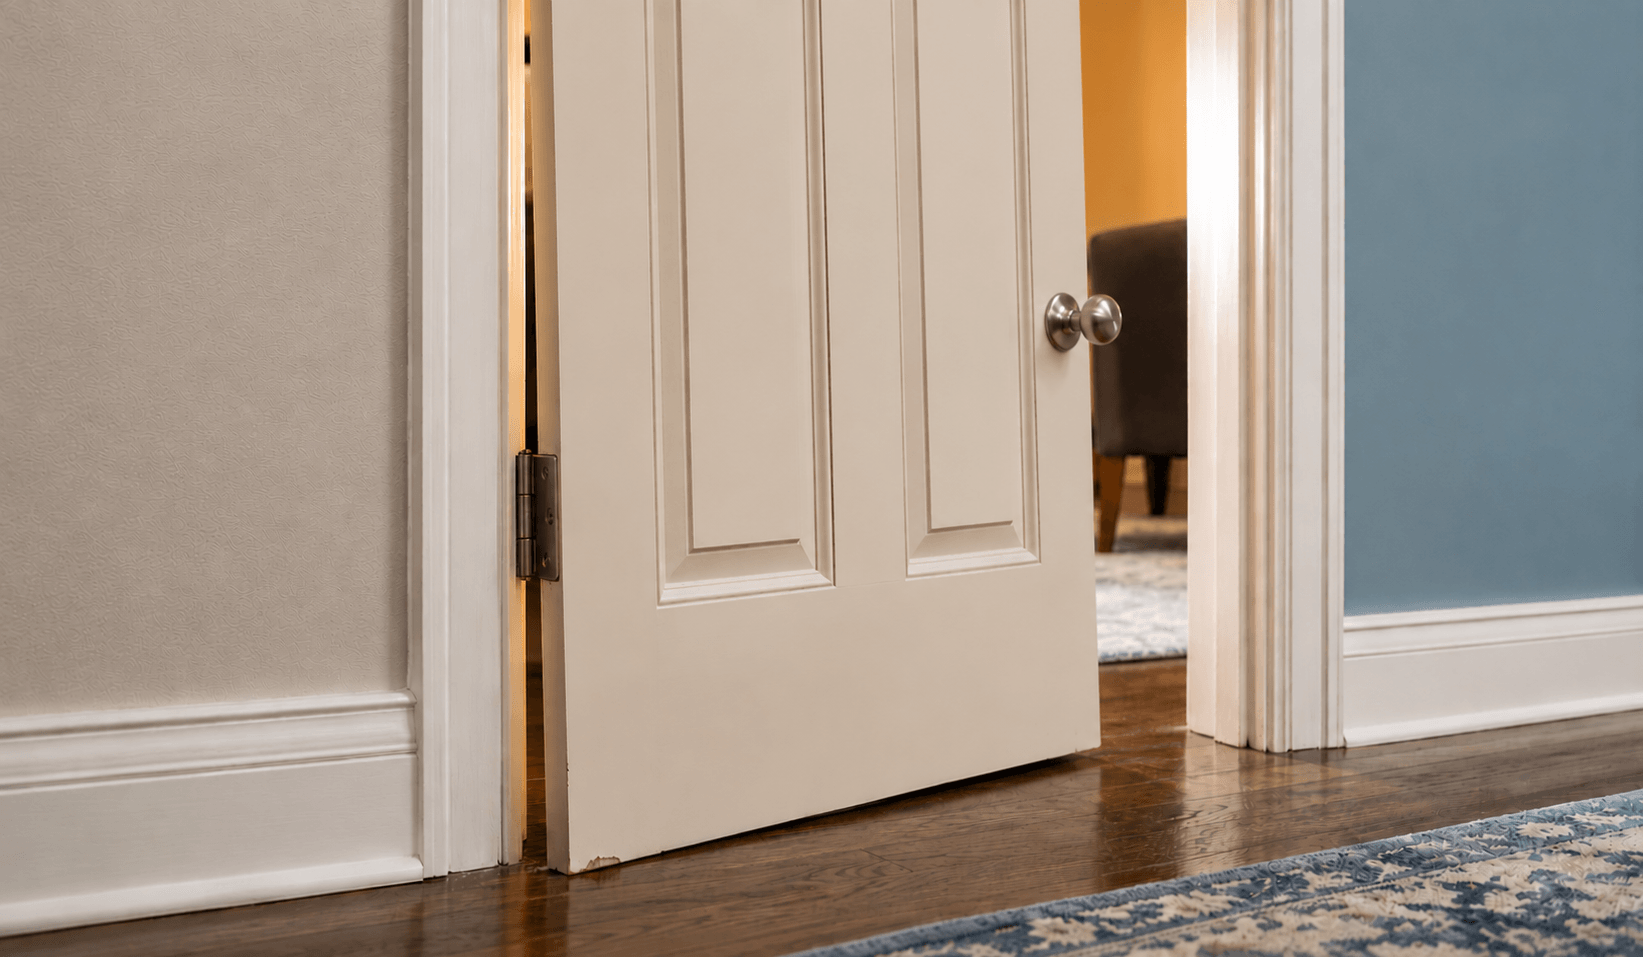
Close the door slowly and watch the gap between the door edge and the frame, called the reveal. A consistent reveal all the way around means the door is square in the frame. An uneven reveal tells you exactly what is happening and where.
Gap wider at the top corner, door drags at bottom: The top hinge has loosened or pulled away from the jamb. The door is rotating on the bottom hinge and dropping. This is the most common sagging door problem in US homes.
Gap wider at the bottom, door rubs at the top corner: Less common. Either the bottom hinge is protruding too much, or the door has swollen at the top from moisture.
Door rubs consistently along one full edge: The door has swollen due to humidity, not a hinge problem. Tightening screws will not help here.
Door swings open or closed on its own: The hinges are not plumb. The door hangs in a frame that is not perfectly vertical, so gravity pulls it toward whichever position is lowest.
Latch does not reach the strike plate: The door is sagging enough that the latch and the hole in the strike plate no longer align. The fix may be adjusting the strike plate rather than the door itself.
Multiple doors and windows sticking at the same time: This is the flag to stop and assess before doing anything. When several openings in the same home all start sticking simultaneously, it indicates the house is settling or shifting, not individual hinge problems. This needs structural evaluation, not a screwdriver.
Fix 1: Tighten the Hinge Screws (Free, Takes 5 Minutes)
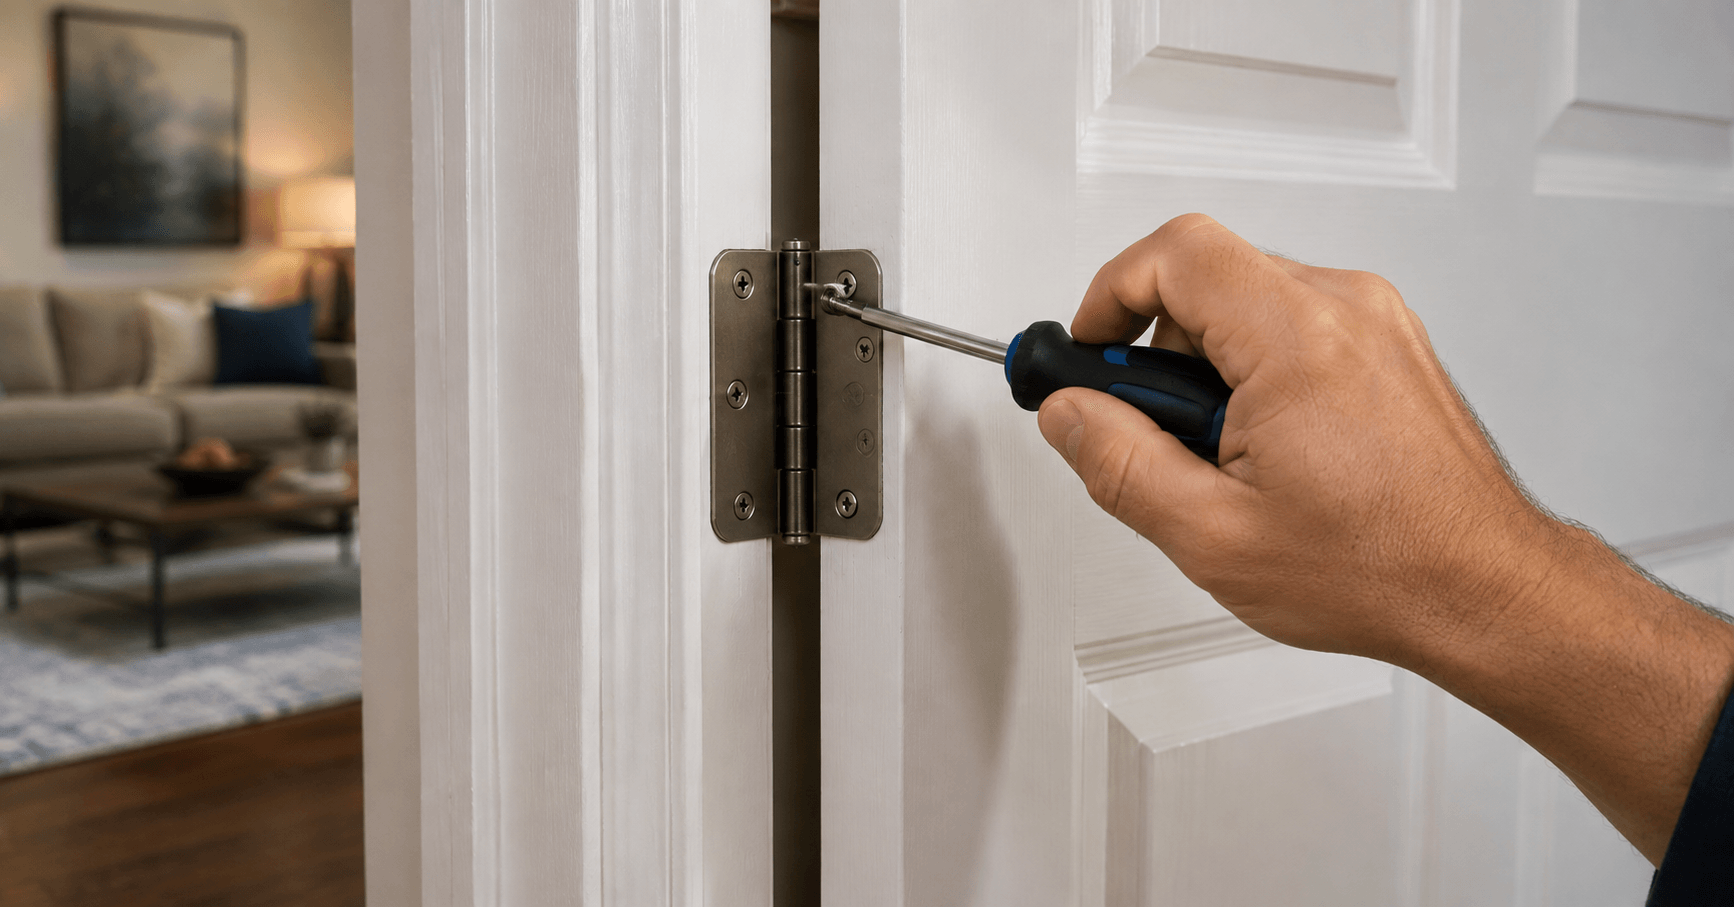
This is the correct first step for every sagging door repair regardless of apparent cause. Loose hinge screws cause most sagging doors in US homes, and checking them first costs nothing and takes minutes.
Open the door fully so the hinges are accessible. Use a manual screwdriver, not a drill. A drill generates enough torque to strip screw holes in wood, which creates a bigger problem. A manual screwdriver lets you feel when the screw is snug without overtightening.
Work from the top hinge down. The top hinge bears the most load and is the most likely to have loose screws. Tighten every screw on every hinge in both the door and the jamb. Close the door and check the reveal.
If the door closes cleanly and latches without rubbing, you are done. This is the fix for most sagging doors.
Fix 2: Repair Stripped Screw Holes With Toothpicks and Wood Glue ($2 to $5)
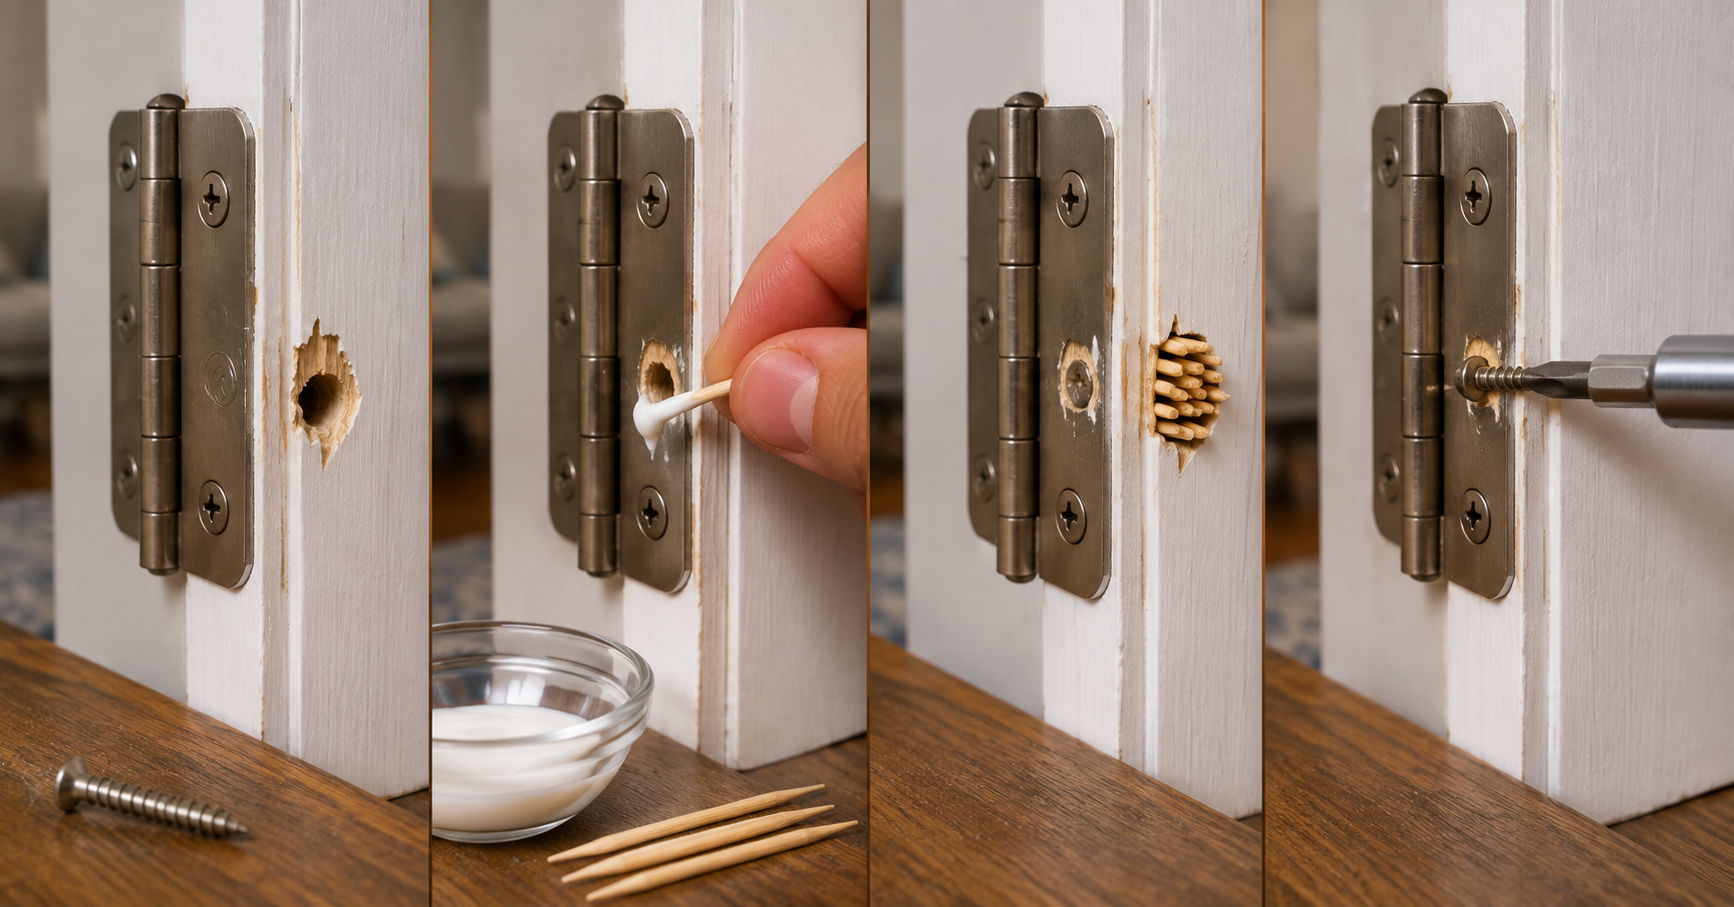
When screws spin without tightening, the wood around them has compressed or split and can no longer grip the screw threads. The screw turns but goes nowhere. This happens in doors that have been loose for a long time or that have been overtightened in the past.
The toothpick method is the fastest and most effective repair for stripped hinge screw holes.
Remove the screw completely. Coat four to six wooden toothpicks generously with wood glue and push them into the hole. Pack them in as tightly as they will fit. Snap off the excess flush with the surface. Let the glue cure for at least two hours, longer if possible. The toothpicks and glue fill the damaged wood and give the screw new material to bite into.
Reinsert the original screw. It will feel significantly more resistant than before. Snug it with a manual screwdriver.
For larger stripped holes or hinge areas with multiple stripped screws, wooden dowels cut to length provide more material and a stronger repair than toothpicks. Drill out the stripped hole to the dowel diameter, apply glue, tap the dowel in, let it cure, then drill a new pilot hole through the dowel and reinsert the screw.
Fix 3: Replace the Center Hinge Screw With a 3-Inch Screw ($3 to $5)
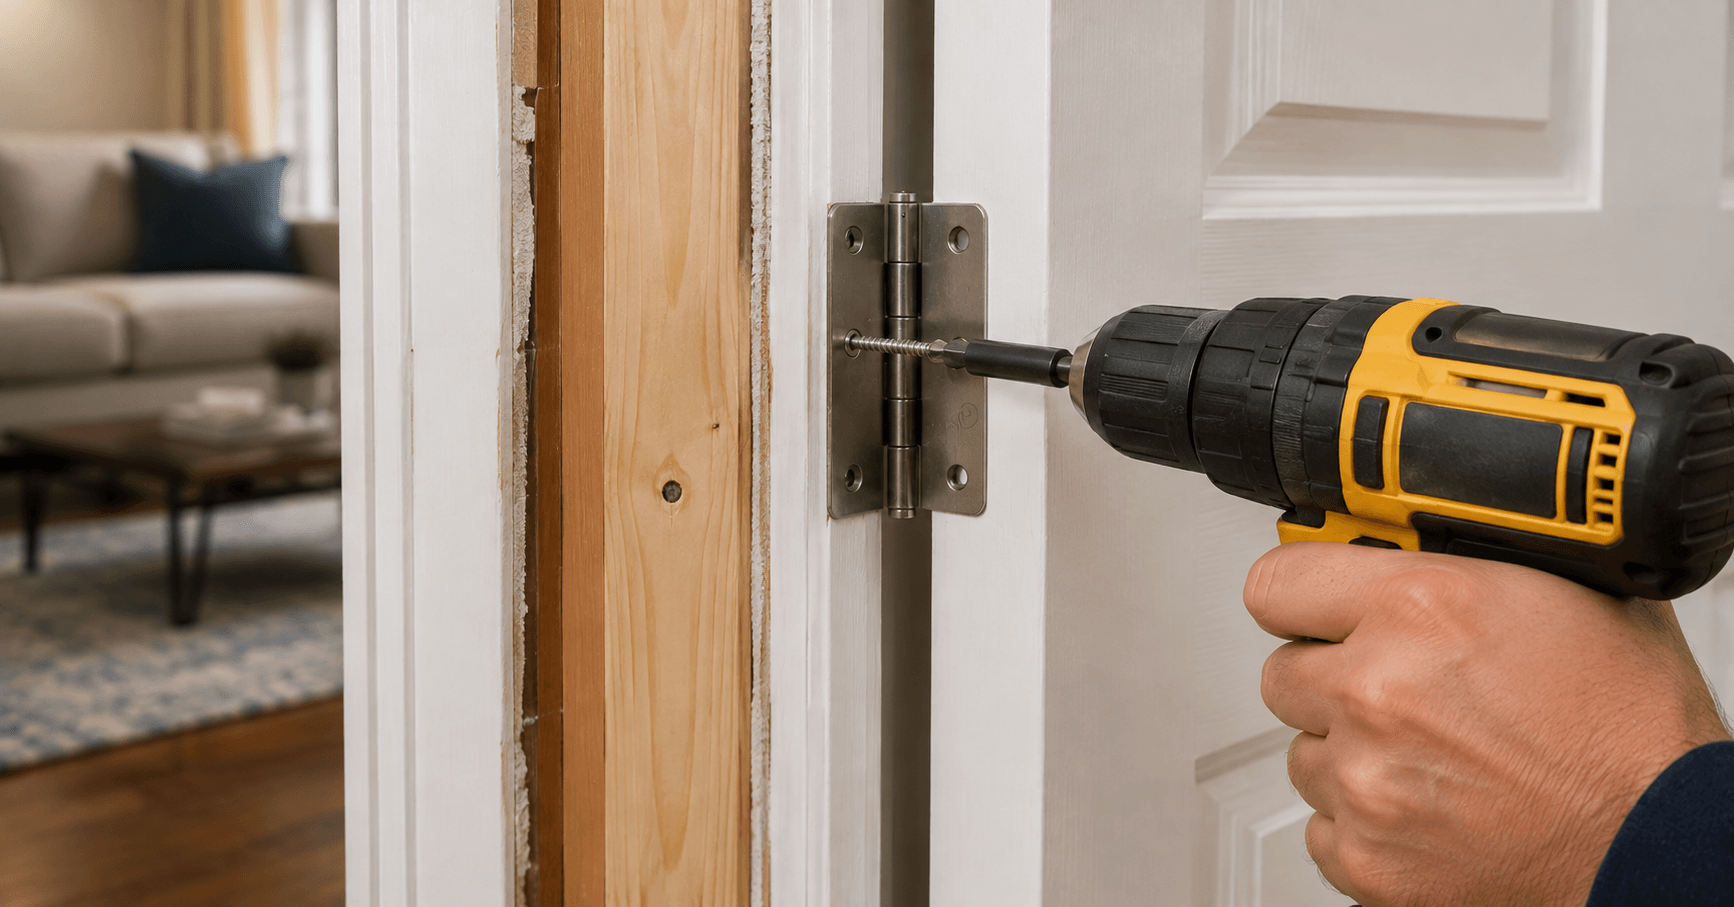
This is one of the most effective fixes for a sagging door when the top hinge is pulling away from the jamb.
Most hinge screws are three-quarters to one inch long. They grip only into the door jamb, which is a thin piece of wood typically three-quarters of an inch thick. Behind the jamb is a gap for shimming, then the wall’s structural framing. A standard hinge screw never reaches the structural framing.
A 3-inch screw driven through the center hole of the top hinge passes through the jamb, through any shimming, and bites firmly into the wall stud behind. This creates an anchor point that is many times stronger than any grip on the jamb alone. On a sagging door, this single screw often pulls the hinge tight, lifts the door, and corrects the sag in a way that no amount of standard screw tightening can achieve.
Remove the center screw from the top hinge. Drive a 3-inch coarse-thread wood screw into the same hole. As the screw pulls into the stud, the jamb draws tight against the framing. Close the door and check the reveal. In most cases, the door lifts noticeably, and the sag reduces or disappears.
<cite index=”35-1″>Most sagging doors result from loose screws in the top hinge, which bears the majority of the weight during operation. Replacing short screws with three-inch wood screws that reach the wall stud behind the jamb often lifts the door significantly.</cite>
For a comprehensive overview of door repair techniques including detailed photography at each step, the Family Handyman guide to sagging doors at familyhandyman.com covers additional methods for doors that do not respond to screw adjustment alone.
Fix 4: Shim Behind the Hinge ($5 to $15)
When tightening and longer screws do not correct the sag, the hinge mortise itself may be cut too deep into the jamb. The hinge sits recessed further than it should, tilting the door toward the hinge side and creating a sag on the opposite corner.
This is confirmed by looking at the door from the side. If the door leans visibly toward the hinge side rather than hanging vertically, the mortise is too deep.
The fix is shimming behind the hinge to push it back to the correct position.
Remove the hinge from the jamb side only. Cut a piece of cardboard, thin wood, or commercial hinge shim to the exact dimensions of the hinge plate. Place it inside the mortise. Reattach the hinge over the shim. The shim pushes the hinge forward, rotating the door back to plumb.
Start with a single layer of cardboard, which is approximately one sixteenth of an inch thick. Check the door after each layer and add more only if needed. A single layer is usually sufficient.
Fix 5: Fix a Swollen Door (Humidity and Moisture Swelling)
Wood absorbs moisture from the air and expands. In humid months, particularly summer in most US regions, a wood door that fit perfectly in winter can swell enough to stick or bind against the frame. In this case, the door is not sagging from a hinge problem. The door itself has grown.
The first step with a swollen door is patience. If the problem appeared in summer and the door was not sticking in winter, wait until the heating season reduces indoor humidity and see if the door returns to its normal fit. Many seasonal swelling issues resolve themselves without any intervention.
If the door continues to stick after the humid season ends, the door has either taken on permanent moisture or the frame has shifted. In either case, the fix is removing material from the edge where the door contacts the frame.
Mark the contact points with a pencil by running a piece of chalk or graphite along the frame and closing the door. The marks on the door edge show exactly where material needs to be removed.
Remove the door by tapping out the hinge pins from below using a screwdriver and hammer. Lay the door on sawhorses. Use a hand plane or an orbital sander to remove a small amount of material from the marked contact edges. Remove less than you think you need on the first pass and test-hang the door before removing more.
After planing or sanding, seal the raw wood with primer or exterior paint before rehanging. Bare wood absorbs moisture rapidly, and the swelling problem will return quickly if the exposed wood is left unsealed. The connection between moisture infiltration and paint failure on door surfaces is direct. The guide on how to fix peeling paint covers the moisture-related paint prep that is required after any door edge work to prevent rapid finish failure in the same area.
Fix 6: Adjust the Strike Plate ($0 to $10)
Sometimes what appears to be a sagging door problem is actually a strike plate alignment problem. The door has dropped slightly, the latch now hits below the strike plate hole, and the door will not latch without lifting it slightly.
Before removing the door or planing any wood, try adjusting the strike plate first.
Loosen the strike plate screws. Shift the plate downward by the amount the latch is missing the hole. Re-tighten and test. On many doors where the sag is minor, a moved strike plate restores full function without any other work.
If the latch is missing the hole by more than one quarter of an inch, strike plate adjustment alone will not be sufficient, and the underlying hinge issue needs to be addressed first.
For a larger offset, file the strike plate opening larger in the direction the latch needs to travel. Use a metal file and remove material gradually, testing after each pass. A strike plate with an enlarged opening looks identical to the original from normal viewing distance and is a perfectly acceptable permanent solution on a door where the sag is stable.
Fix 7: Address an Out-of-Plumb Frame
When none of the above fixes produce a lasting result, the door frame itself is out of plumb. This means the vertical members of the frame are not truly vertical, causing the door to hang at an angle and swing toward the lower position under gravity.
<cite index=”30-1″>If you find the jamb is not plumb when checked with a level, the frame itself has moved. A door opening that is out of square due to foundation settlement or significant structural movement cannot be corrected by hinge adjustments alone.</cite>
A frame that is slightly out of plumb, meaning less than one-quarter inch over the full height, can often be corrected by shimming behind the hinge mortises to bring the hinge line back to vertical. This is a more involved process than standard shimming and benefits from reference to detailed guidance.
A frame that is significantly out of plumb, meaning more than one-quarter inch or visibly noticeable without a level, indicates movement in the structure behind the frame. This is the point where the repair moves beyond DIY scope.
When a Sagging Door Is Telling You Something Serious
Most sagging doors are hinge problems. Some are wood swelling problems. A small percentage are symptoms of something structural that deserves professional attention.
<cite index=”30-1″>Signs that you are dealing with a structural issue rather than a hinge issue include: multiple doors and windows in the home sticking or binding simultaneously, cracks appearing in drywall near door and window openings, gaps between floors and baseboards, and visible separation at wall corners.</cite>
If you see any combination of these signs, stop fixing individual doors and assess the whole house. Multiple sticking openings in different parts of the same home, particularly if this is a new development, indicate the house is moving. This can result from foundation settlement, soil movement, significant moisture damage in the structural framing, or other issues that need a licensed contractor or structural engineer rather than a screwdriver.
Sagging doors are one of the conditions that home inspectors specifically note and investigate as potential indicators of structural movement. The home inspection checklist for buyers covers exactly how inspectors evaluate door and window findings and what the structural implications look like when multiple openings are affected simultaneously.
For comprehensive guidance on door repair, including frame assessment and replacement decisions, This Old House provides detailed step-by-step coverage at thisoldhouse.com.
The Seasonal Door: Why Your Door Sticks Only in Summer
Homeowners in humid US climates, particularly the Southeast, Gulf Coast, Pacific Northwest, and anywhere with significant summer humidity, commonly experience doors that stick in summer and fit fine in winter.
This is a material behavior issue, not a structural problem. Wood expands when it absorbs moisture and contracts when it dries. A door that fit perfectly when installed in dry winter conditions may swell enough in July to bind against the frame.
The practical management approach is to paint or seal all six sides of a wood door, including the top and bottom edges that are often left bare. Bare wood on any edge is a moisture entry point. Sealed wood absorbs and releases moisture more slowly, reducing the magnitude of seasonal swelling.
Running a dehumidifier during peak summer humidity or maintaining consistent indoor humidity between 35 and 55 percent year-round reduces the extent of seasonal wood movement throughout the house, affecting not just doors but also wood floors, cabinets, and trim. The guide on how to fix squeaky hardwood floors covers the humidity management approach in detail, since the same seasonal wood movement that causes door sticking also causes hardwood floor boards to rub and squeak.
Tools and Materials Reference
| Item | Cost | When Needed |
| Manual screwdriver (Phillips and flat) | Already own | Every fix |
| 3-inch coarse thread wood screws | $3 to $5 | Fix 3 |
| Toothpicks and wood glue | $2 to $4 | Fix 2 |
| Wooden dowels (optional) | $3 to $6 | Fix 2 large holes |
| Hinge shims or cardboard | $0 to $8 | Fix 4 |
| Hand plane or orbital sander | $20 to $60 | Fix 5 swollen door |
| Metal file | $8 to $15 | Fix 6 strike plate |
| Level (24 inch) | $15 to $25 | Fix 7 frame check |
| Pencil or chalk | Already own | Marking contact points |
| Primer and paint | $15 to $30 | After any wood removal |
Frequently Asked Questions
Q: Why does my door sag after I already fixed it?
A: Recurring sag after repair usually means the root cause was not addressed. If you tightened screws and the sag returned, the screw holes are stripped and need the toothpick repair, or the screws need to be replaced with 3-inch screws reaching the wall stud. If the sag returns after replacing screws, the frame itself may be moving due to settlement or moisture damage in the structural framing.
Q: Can I fix a sagging door without removing it?
A: Yes, for hinge-related causes. Tightening screws, filling stripped holes, replacing with longer screws, shimming behind hinges, and adjusting the strike plate are all done with the door in place. The door only needs to come off the frame if you are planing or sanding the edges to address a swollen door.
Q: How do I know if my sagging door is a structural problem?
A: Check whether other doors and windows in the house are also sticking. A single sticking door is almost always a hinge or moisture issue. Multiple sticking openings in different parts of the house, especially if accompanied by new drywall cracks near the openings or gaps at floors and baseboards, indicate the house is moving and needs structural assessment.
Q: Is it better to plane the door or fix the hinge?
A: Always try hinge fixes first. Planing removes wood permanently and is irreversible. If the door fits correctly in winter but sticks in summer, the problem is seasonal swelling, and planing removes wood that the door needs for a proper fit in the dry season. Only after confirming the sag is not a hinge issue and that the door is swollen beyond its seasonal normal.
Q: Why does my door swing open or closed on its own?
A: A door that swings on its own is hanging in a frame that is not plumb. Gravity pulls the door toward whichever position is lowest. Check the door frame with a level. If the frame is out of plumb, shimming behind the hinges to bring it to a vertical line corrects the self-swinging behavior.
Dealing with a door that does not match any of the scenarios above, or a fix that keeps failing after multiple attempts? Drop your door type, location in the house, and what the gap pattern looks like in the comments, and we will help you diagnose the specific cause.

Samreen Khadim Hussain is a home improvement writer and content creator at Domelite Home. She specializes in making home renovation, interior design, and bathroom safety accessible to everyday US homeowners, turning technical subjects into clear, actionable advice. Her work is rooted in research, real-world practicality, and a genuine belief that a better home is within everyone’s reach.
1 thought on “How to Fix a Sagging Door: 7 Proven Fixes That Work”