
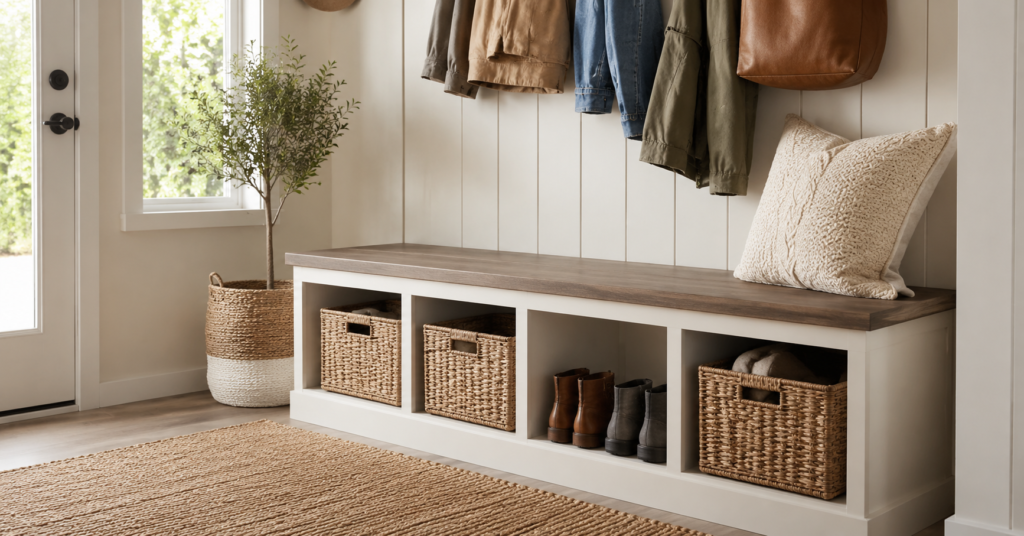
Quick Answer: A DIY mudroom bench with storage costs $150 to $300 in materials using 3/4-inch plywood, takes one weekend to build, and should be 17 to 19 inches tall, 15 to 18 inches deep, with cubbies sized to fit your storage baskets. Use plywood, not MDF, since mudrooms are wet environments and MDF swells and disintegrates when it gets damp.
You open the front door, and there it is again. A pile of shoes nobody put away. Three coats slung over a chair because there is nowhere else for them to go. A backpack abandoned in the middle of the floor where someone is guaranteed to trip over it tonight.
A mudroom bench fixes this. Not with a $4,000 custom build from a contractor, but with a weekend, a few sheets of plywood, and a clear plan. This guide walks you through the exact build, the material decision that actually matters, real dimensions that work in real entryways, and the costly mistakes that separate a bench that looks professionally built from one that looks like it was shoved against the wall.
If your entryway is on the smaller side, getting the dimensions right matters even more. This guide on compact furniture ideas for small rooms covers additional space-saving principles that apply directly to a tight mudroom layout.
Plywood vs MDF: Settling the Material Debate
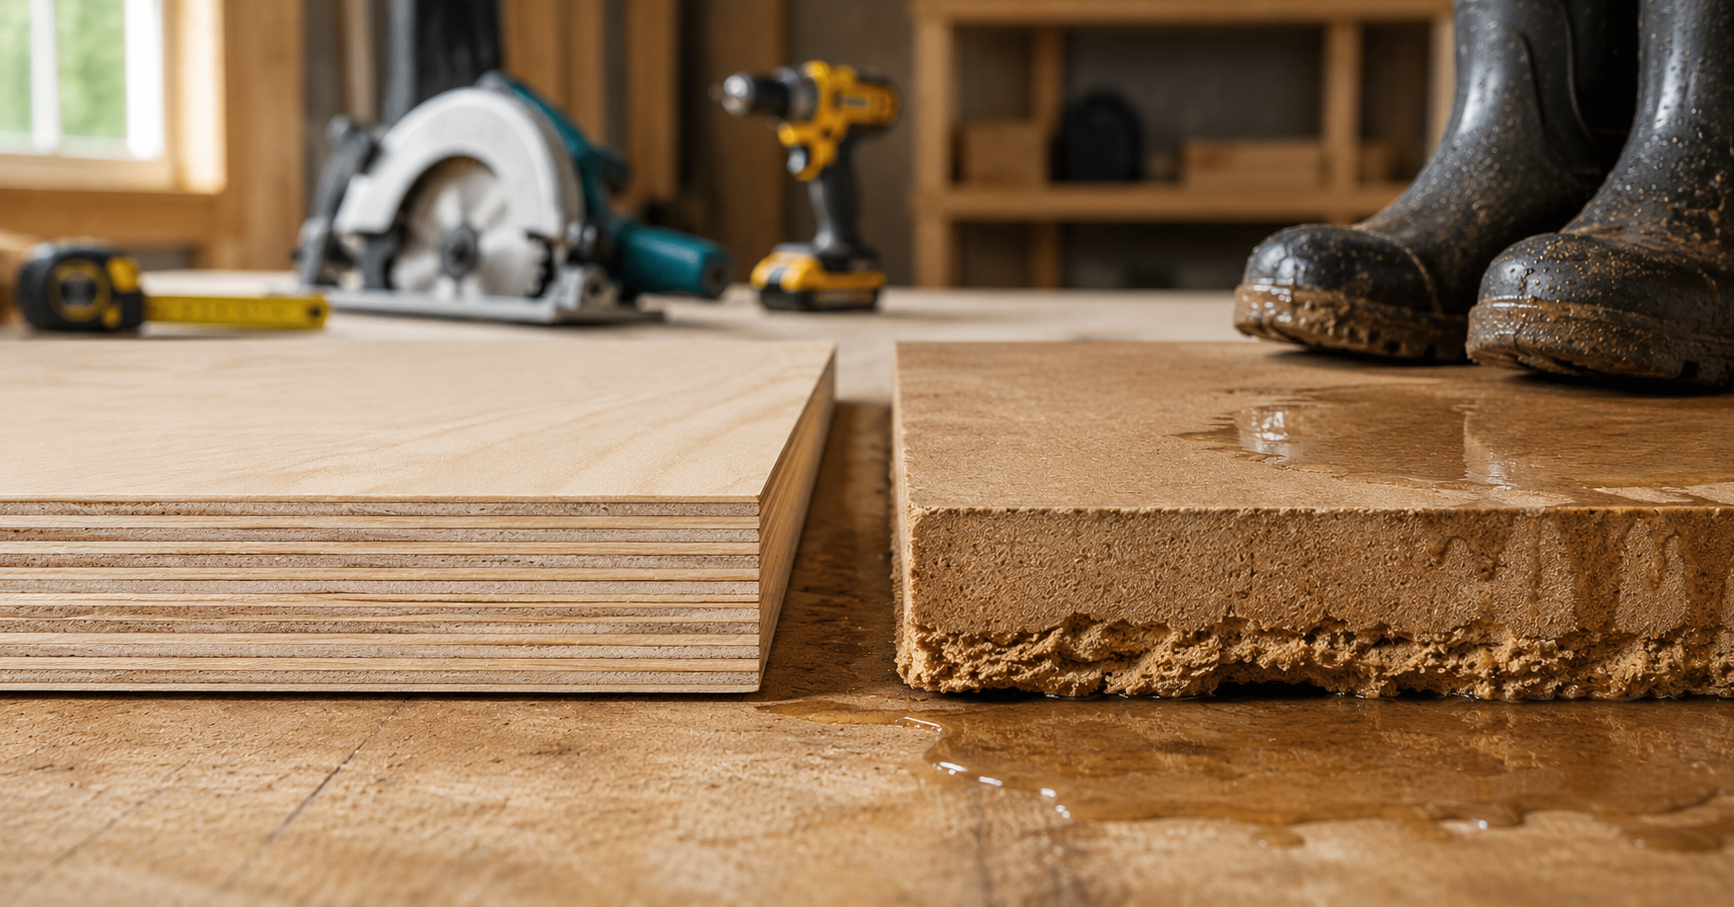
This is the single most argued-about decision in every mudroom bench build, and most guides either avoid taking a clear position or give conflicting advice. Here is the straight answer.
Why MDF Fails in a Mudroom
MDF (medium-density fiberboard) is made from compressed wood fibers bonded with resin. It is smooth, affordable, and easy to cut without worrying about exposed end grain. Several well-known DIY guides recommend it for exactly these reasons.
Here is the problem nobody emphasizes enough: a mudroom is, by definition, a wet environment. Wet boots, dripping umbrellas, melting snow, and damp coats are the entire reason mudrooms exist. MDF absorbs water like a sponge. Once moisture gets into MDF, even at a small exposed edge or seam, it swells, turns to mush, and never recovers. There is no fixing swollen MDF. The piece has to be replaced.
If you do choose MDF, every single edge needs to be sealed with primer and paint, including the inside of cubbies and any cut edges, with zero gaps. That is a lot of careful work to manage a material that is fighting against the exact environment it is being installed in.
Why Plywood Is the Better Choice for Most Builders
Cabinet-grade 3/4-inch plywood costs more than MDF, but it handles moisture dramatically better. It does not swell and disintegrate when wet the way MDF does. It holds screws more securely, which matters for a bench that will support the weight of people sitting on it daily. It is also lighter than MDF of the same thickness, which makes it considerably easier to handle and install on your own.
For the bench top specifically, where direct water contact and weight are both highest, plywood is the clear choice. For trim pieces, face frames, or decorative elements that will not face direct moisture exposure, MDF can work fine and is more budget-friendly.
The practical recommendation: build the structural boxes and bench top from 3/4-inch cabinet-grade plywood. Save MDF, if you use it at all, for crown molding or trim details where moisture exposure is minimal.
Mudroom Bench Dimensions: Getting the Size Right
Standard Bench Height and Depth
Getting the dimensions wrong is one of the most common reasons a finished bench feels awkward to actually use, even if the construction itself is solid.
The ideal seating height is 17 to 19 inches, matching the height of a standard dining chair. This allows for a comfortable angle when sitting down to put on or remove shoes without straining your back or knees.
Depth is the dimension people most often get wrong. Anything shallower than 14 inches becomes both uncomfortable to sit on and impractical for storing shoes. A standard men’s size 12 shoe measures roughly 11.5 to 12 inches long. After accounting for the back panel thickness and any front trim, a 14-inch deep cubby leaves barely enough internal clearance. Aim for 15 to 18 inches of depth for the most usable result.
Cubby Width for Shoes and Storage
Individual cubby bays work best between 11 and 13 inches wide if you are using storage baskets, since most standard storage baskets are sized in that range. If you are planning open cubbies without baskets, 12 to 16 inches per bay gives enough room for boots and bulkier footwear without crowding.
For a bench spanning wider than 36 inches, add a center support divider. Without it, 3/4-inch plywood will visibly bow under the weight of an adult sitting in the middle of the span over time. This single detail is the difference between a bench that holds up for decades and one that develops a sag within a year.
Tools and Materials You Need
Tools
You do not need a fully stocked woodworking shop for this project, but a few specific tools make the difference between a frustrating weekend and a smooth one.
Essential tools: circular saw or table saw, drill with driver bits, pocket hole jig (Kreg jig is the industry standard), orbital sander, tape measure, square, level, and a finish nail gun if you have access to one. A pocket hole joinery system is genuinely worth the investment if you plan to build more than one piece of furniture, since it creates strong, mostly hidden joints without complex woodworking joinery skills.
If you do not own a table saw, most hardware stores will cut plywood sheets to your exact cut list dimensions for a small fee or free with purchase. This is the easiest way for a first-time builder to get clean, straight panels without investing in a table saw.
Materials and Real Cost Breakdown
Here is what this project actually costs in the US as of 2026, not the vague ranges most guides give:
| Item | Quantity | Estimated Cost |
| 3/4-inch cabinet-grade plywood | 2 to 3 sheets | $170 to $260 |
| 3/8-inch plywood (back panel) | 1 sheet | $35 to $50 |
| Pocket hole screws (box) | 1 box | $10 to $15 |
| Wood glue | 1 bottle | $8 to $12 |
| Coat hooks (set of 4 to 6) | 1 set | $15 to $40 |
| Sandpaper (120 and 220 grit) | Multipack | $10 to $15 |
| Primer (oil-based, for raw edges) | 1 quart | $15 to $20 |
| Paint (semi-gloss or cabinet enamel) | 1 quart | $20 to $35 |
| Caulk (paintable acrylic latex) | 1 to 2 tubes | $8 to $15 |
| Storage baskets (optional, 3 to 4) | Set | $40 to $80 |
Total estimated cost: $150 to $300 for the base build, or $200 to $380 if adding storage baskets. Compare this to professional installation, which typically runs $4,000 to $5,000, including materials and labor for an equivalent built-in bench and locker system.
How to Build a DIY Mudroom Bench With Storage: 7 Steps
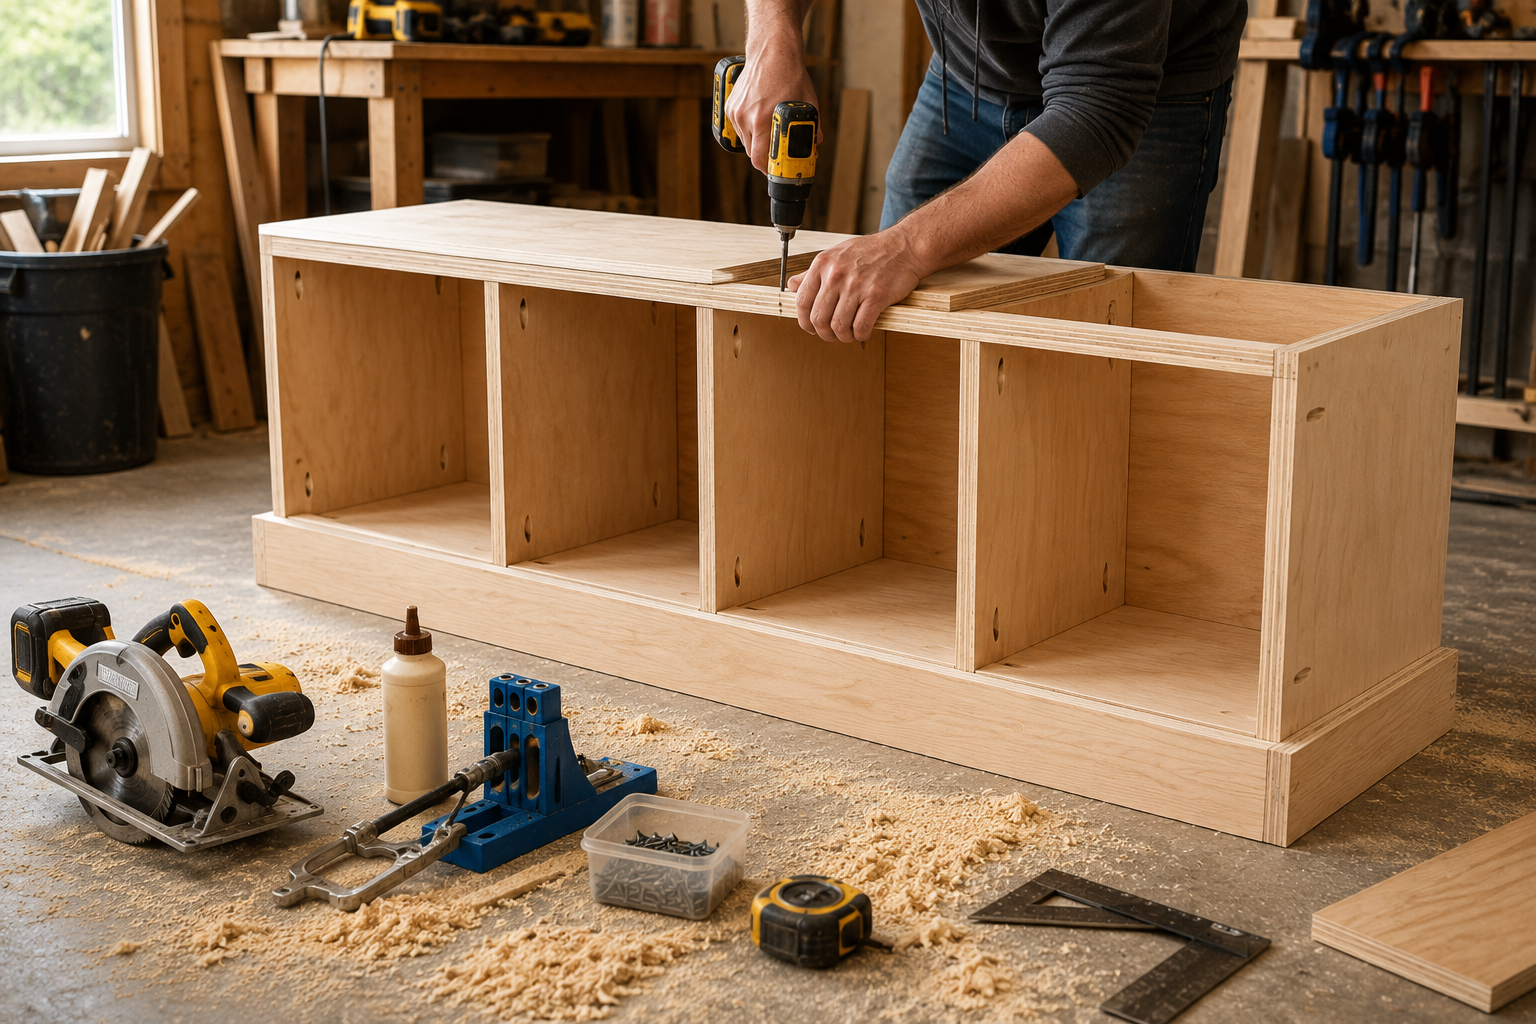
Step 1: Measure Your Space and Account for Baseboards
Measure the full width of your intended bench location at three points, top, middle, and bottom, since walls are rarely perfectly straight. Use the smallest measurement as your maximum width.
Critically, measure the depth of your baseboard before finalizing your design. This single detail catches more DIYers off guard than almost anything else in the entire build. If you design your bench to fit flush against the wall without accounting for baseboard thickness, you will end up with a visible gap between the back of the bench and the wall once it is installed.
Step 2: Cut Your Plywood
Using your finalized dimensions, create a complete cut list before making a single cut. This prevents wasted material and expensive mistakes. If cutting at home, use a circular saw with a straight edge guide or a track saw for clean, accurate lines. Sand all cut edges with 180-grit sandpaper before assembly.
If your design includes dadoes (grooves cut into the plywood to seat dividers), mark these clearly and cut them with a router and straight bit before assembling anything. Dadoes create significantly stronger joints than simply butting two pieces of plywood together and screwing through the face.
Step 3: Build the Base Frame
The base frame raises your bench off the floor slightly, provides a clean toe-kick recess, and gives you a way to level the entire unit if your floor is uneven. Build this from 2×4 lumber, sized to the footprint of your bench. This base also gives you a structural anchor point to screw the upper cubby box into wall studs, which matters enormously for long-term stability.
Check your floor with a level before finalizing the base. Older homes, especially, tend to have noticeable slope, and shimming the base now is far easier than trying to correct it after the full structure is assembled.
Step 4: Assemble the Cubby Box
Using pocket hole joinery, assemble the side panels, dividers, and top and bottom panels of your cubby structure. Pocket holes keep screws hidden on the inside faces, giving you a clean, professional-looking exterior with no visible hardware.
If your bench spans wider than 36 inches, this is the step where your center support divider goes in. Do not skip it, regardless of how solid the plywood feels during dry assembly. The bow becomes apparent only after months of regular use and weight, by which point it is a much bigger fix.
Attach the 3/8-inch back panel last. This panel does double duty: it adds significant rigidity to the entire structure and protects the wall behind the bench from shoes and bags being thrown into the cubbies.
Step 5: Attach the Bench Top
Cut your bench top to size, allowing a small overhang of half an inch to one inch past the front face for a finished look. Attach it to the top of your cubby box using glue along the contact edges combined with screws or a nail gun from above, or pocket screws from below if you want zero visible fasteners on the top surface.
If you want a hinged lid for additional hidden storage beneath the seat, install a continuous piano hinge along the back edge now, along with a lid support stay to prevent the top from slamming shut.
Step 6: Sand, Prime, and Paint
Sand the entire assembled piece with 220-grit sandpaper, paying particular attention to any glue squeeze-out and rough cut edges. Fill any gaps, screw holes, or seams with wood filler, let it dry fully, then sand again until smooth.
Apply an oil-based primer to all surfaces, particularly any cut edges of plywood or MDF trim, since these absorbent edges are the most vulnerable point for future moisture damage. Oil-based primer seals these edges far more effectively than water-based products. For proper technique on priming and painting surfaces that will see regular wear and moisture exposure, this guide on fixing and preventing peeling paint covers the prep work that makes the difference between a finish that lasts and one that fails within a year.
For the topcoat, use a cabinet-grade enamel or urethane alkyd paint rather than standard wall paint. Standard wall paint lacks the hard-curing, self-leveling properties needed to withstand the daily friction of shoes, bags, and zippers scraping against the surface. Apply at least two coats for full durability.
Step 7: Install Hooks and Final Touches
Mount coat hooks above the bench, anchored into wall studs rather than drywall alone. Hooks screwed only into drywall will rip out within weeks under the weight of winter coats and backpacks. If studs do not align with your desired hook spacing, add a horizontal mounting board across the wall first, anchored into multiple studs, then attach hooks to that board.
Run a thin bead of paintable acrylic latex caulk along every seam where the bench meets the wall and where wood pieces meet each other. This single step is what gives a DIY build the seamless, professional appearance of a true built-in, hiding the inevitable small gaps that occur even in careful construction.
The Baseboard Gap Mistake That Ruins the Built-In Look
This deserves its own section because it is genuinely the most common mistake that makes an otherwise well-built bench look amateur.
Here is what happens: you measure your wall width precisely, build a perfectly square bench to that width, and then discover a visible gap between the back of the bench and the wall once it is in place. The cause is almost always baseboard trim, which sticks out from the wall surface by half an inch to an inch and a half, depending on your home’s molding profile.
There are two correct solutions. First, design your bench with a notched or relieved back panel that clears the baseboard profile, allowing the bench to sit flush against the wall above the baseboard. Second, if you want a truly seamless built-in look, physically notch or remove the section of baseboard where the bench will sit, then reinstall trim around the new piece once it is in place.
Either approach takes an extra hour of planning or cutting. Skipping this step is what makes a bench look like a separate piece of furniture pushed against the wall rather than a built-in feature of the room.
Adding Storage: Baskets, Drawers, or Open Cubbies
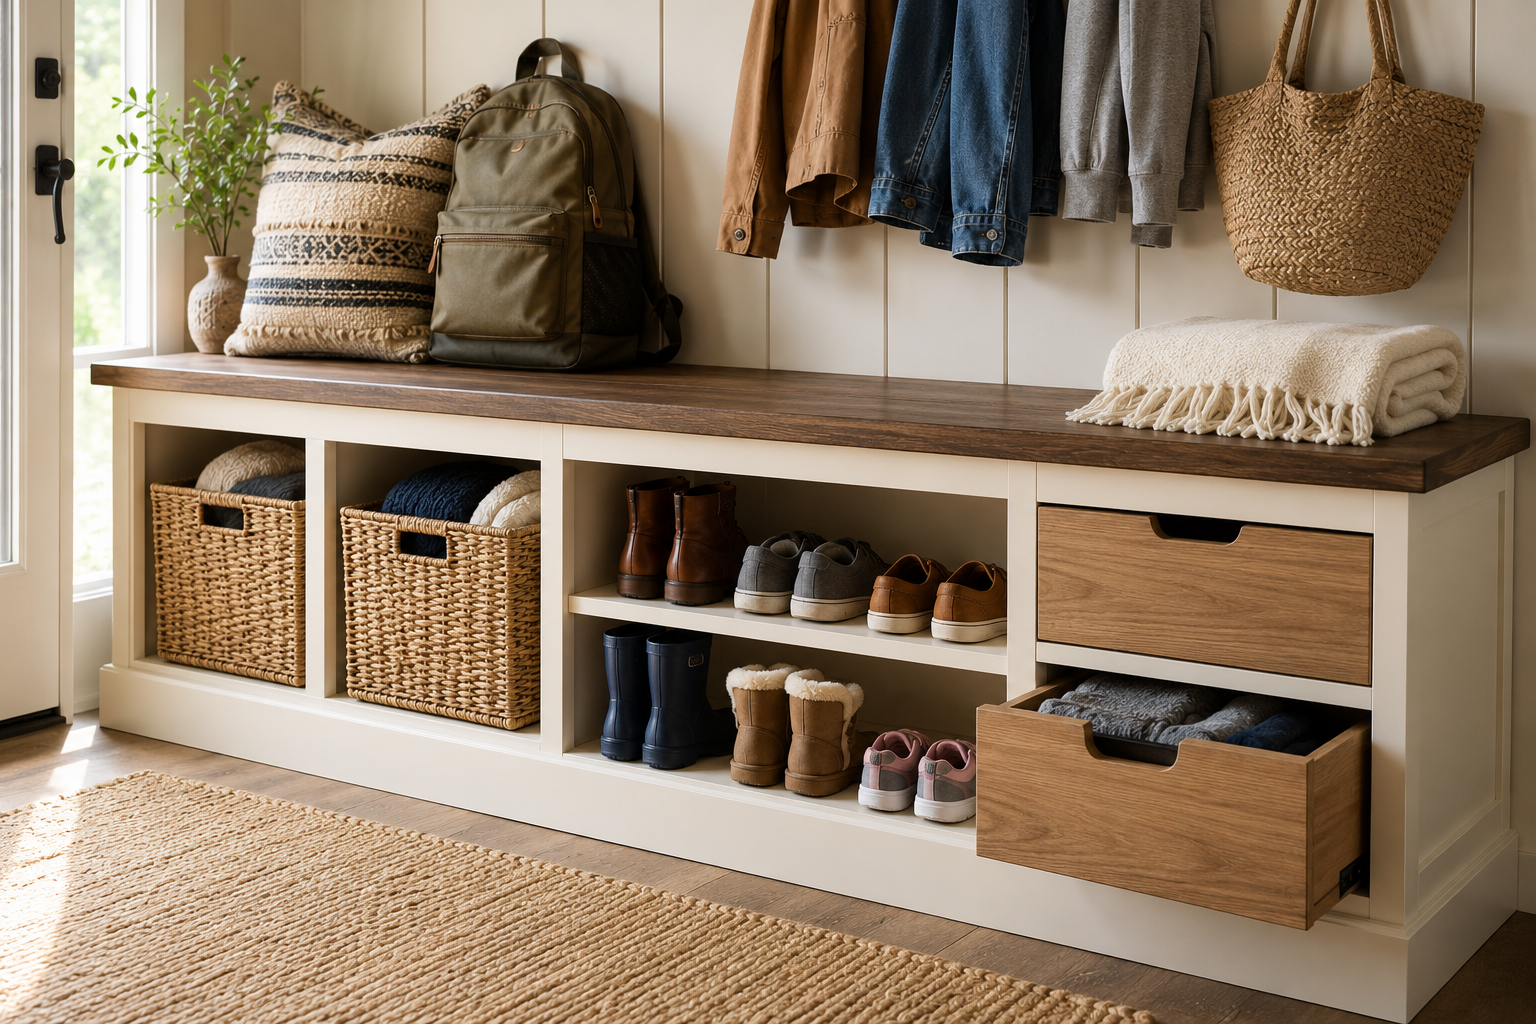
You have three practical options for the storage portion of your bench, and the right one depends on your household, not aesthetic preference alone.
Open cubbies are the simplest to build and the most forgiving of imperfect shoe-removal habits. Family members can toss shoes directly in without aiming for a basket or opening a drawer. This is genuinely the best choice for households with young kids, since anything requiring an extra step often just does not happen consistently.
Storage baskets slide into open cubbies and hide visual clutter while keeping the same low-effort access as open cubbies. Buy your baskets before finalizing cubby dimensions, since it is far easier to size the bench around standard basket dimensions than to hunt for baskets that fit an already-built bench.
Built-in drawers look the cleanest and hide everything completely, but they add real construction complexity with drawer slides and precise tolerances, and they add friction to daily use since each drawer must be pulled open and closed. Drawers work best for less frequently used items like seasonal gear rather than daily shoes.
For most families, a combination works best: open cubbies or baskets for daily shoe storage at the bottom, with one or two drawers above for items used less often, like gloves, hats, or pet leashes.
Frequently Asked Questions
Q: Should I use plywood or MDF for a mudroom bench?
A: Plywood is the better choice for most mudroom bench builds because it handles moisture significantly better than MDF. Mudrooms are wet environments by nature, with wet boots, dripping umbrellas, and melting snow regularly contacting the bench. MDF absorbs water and swells permanently when exposed to moisture, while plywood holds up far better and also grips screws more securely for long-term structural stability.
Q: How deep should a mudroom bench be?
A: A mudroom bench should be 15 to 18 inches deep for the most practical and comfortable result. Anything shallower than 14 inches becomes uncomfortable to sit on and does not provide enough internal cubby clearance to fully fit adult-sized shoes once you account for back panel and trim thickness.
Q: How much does it cost to build a DIY mudroom bench with storage?
A: A DIY mudroom bench with storage typically costs $150 to $300 in materials using cabinet-grade plywood, hardware, and paint. This compares to $4,000 to $5,000 for a professionally built equivalent, including materials and labor. The exact cost depends on the size of your bench, whether you add storage baskets, and the quality of paint and hardware you choose.
Q: Why does my mudroom bench have a gap at the wall?
A: This almost always happens because the bench was built to the wall measurement without accounting for baseboard trim, which protrudes from the wall surface. The fix is either designing the bench’s back panel with a notch that clears the baseboard profile or physically notching the baseboard itself so the bench can sit flush against the wall.
Q: Can I build a mudroom bench without power tools?
A: It is significantly easier with at least a drill and a circular saw, but you can minimize tool requirements by having your hardware store cut the plywood to your exact cut list dimensions, which most stores offer for free or a small fee. You will still need a drill for assembly, and ideally a pocket hole jig for strong, clean joints, but a table saw or router is not strictly necessary for a basic build.
Building a mudroom bench for a specific space, and not sure about the dimensions or layout? Drop your wall measurements and storage needs in the comments, and we will help you figure out the right configuration.

Samreen Khadim Hussain is a home improvement writer and content creator at Domelite Home. She specializes in making home renovation, interior design, and bathroom safety accessible to everyday US homeowners, turning technical subjects into clear, actionable advice. Her work is rooted in research, real-world practicality, and a genuine belief that a better home is within everyone’s reach.
1 thought on “DIY Mudroom Bench With Storage: 7 Steps to Build It Right”